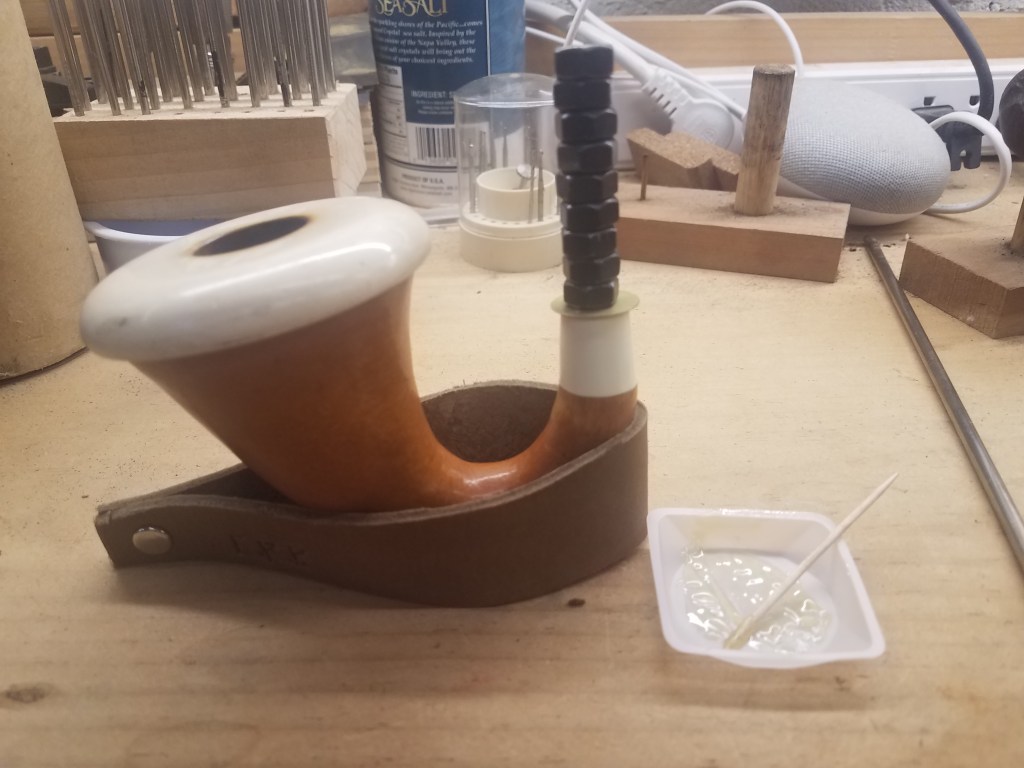
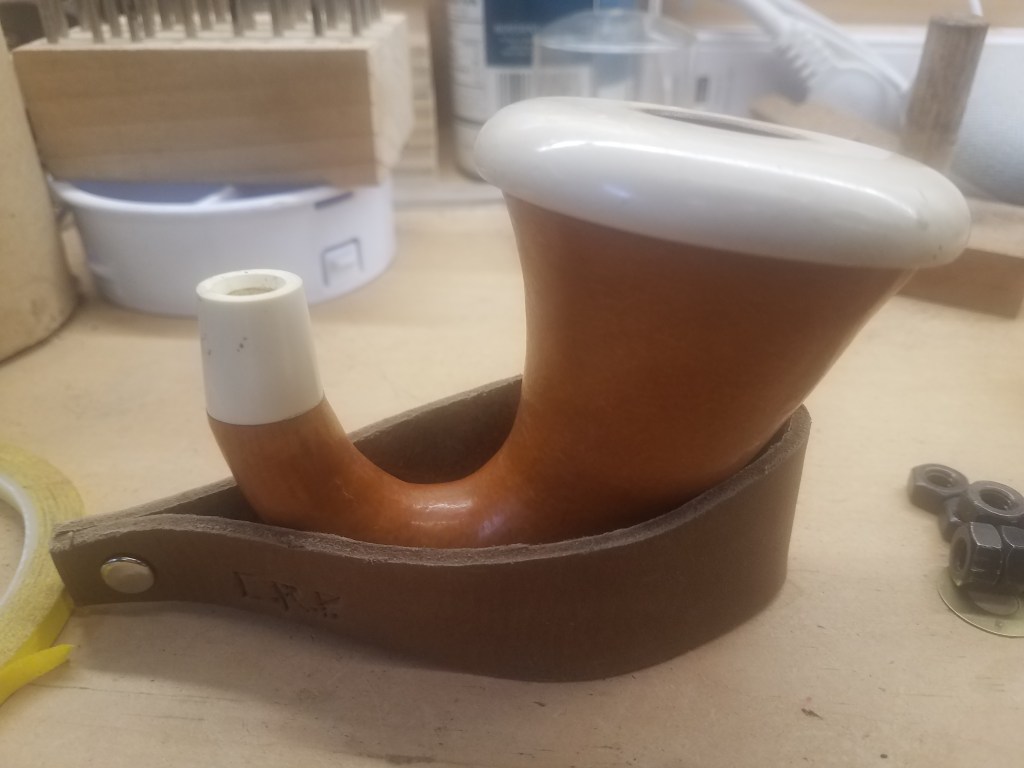
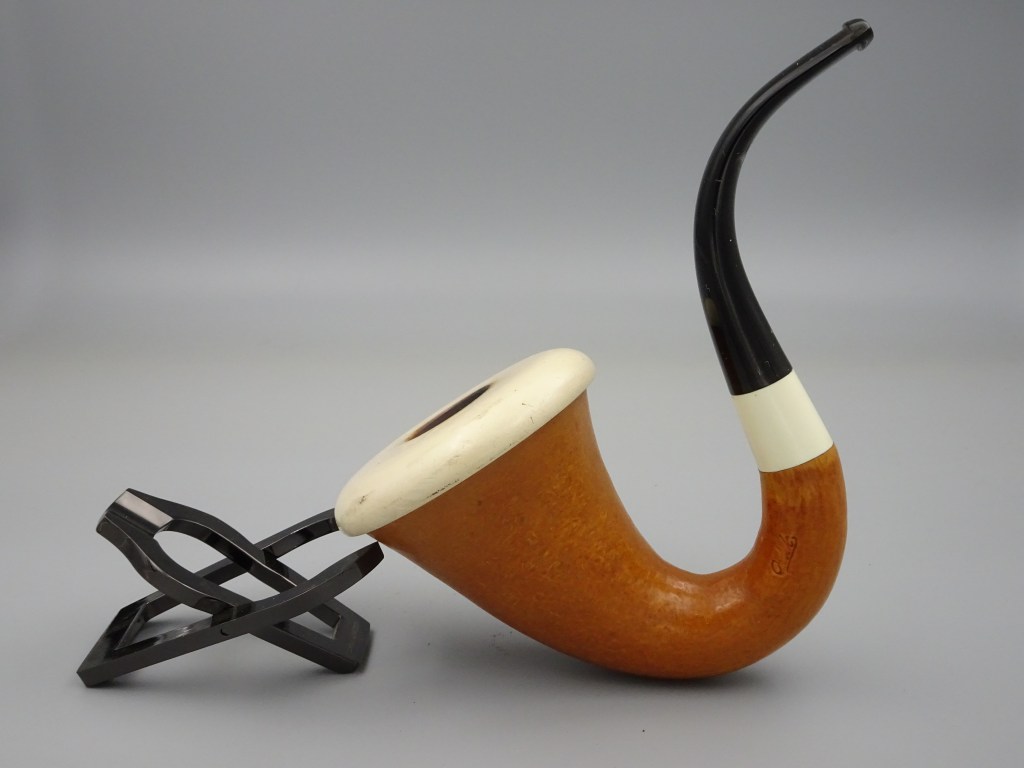
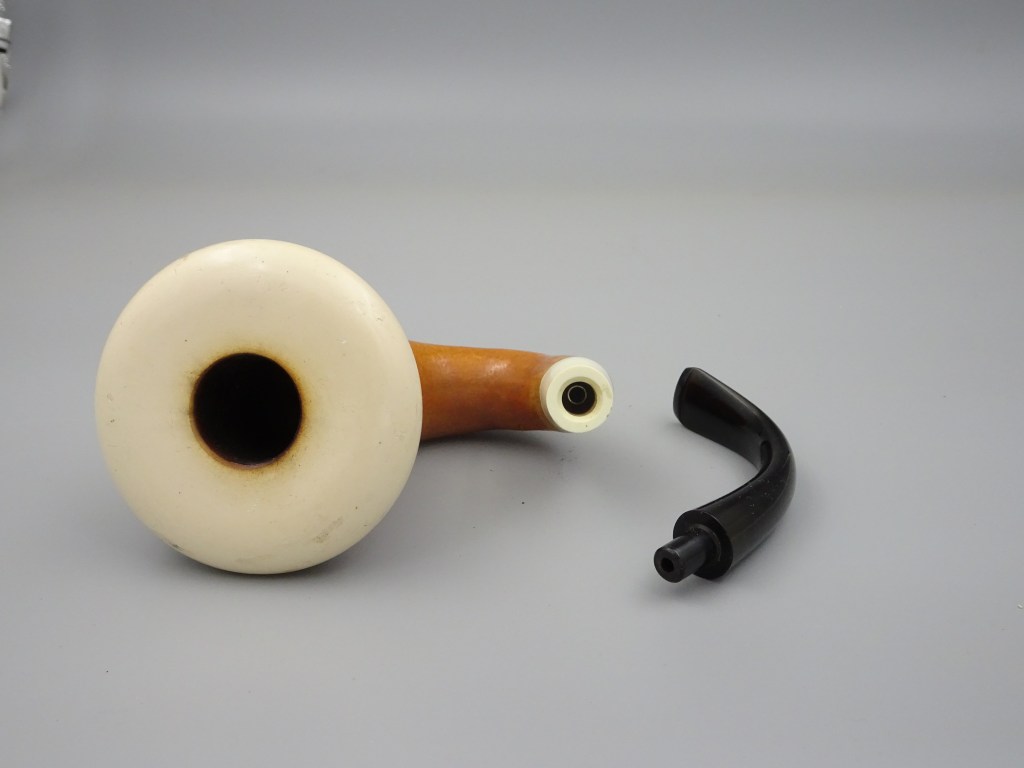
I had a challenging repair come through the shop that I thought might be worth documenting and possibly would be of some interest. The pipe is an Orlik Calabash and the cap and shank extension on the pipe appear to be ceramic, although it could be highly polished meerschaum. I’m far from an expert on these pipes, so I’ll just say it feels like ceramic to me and will call it ceramic from here on out. The problem is that, in my opinion, this pipe suffered from a lousy design. While the ceramic shank extension certainly looks nice, it is fragile. And the only reinforcement protecting that thin tube of ceramic entering the gourd was the glue joint between the ceramic and gourd. Apparently the tenon got stuck at some point and the owner tried to get it free then…snap.
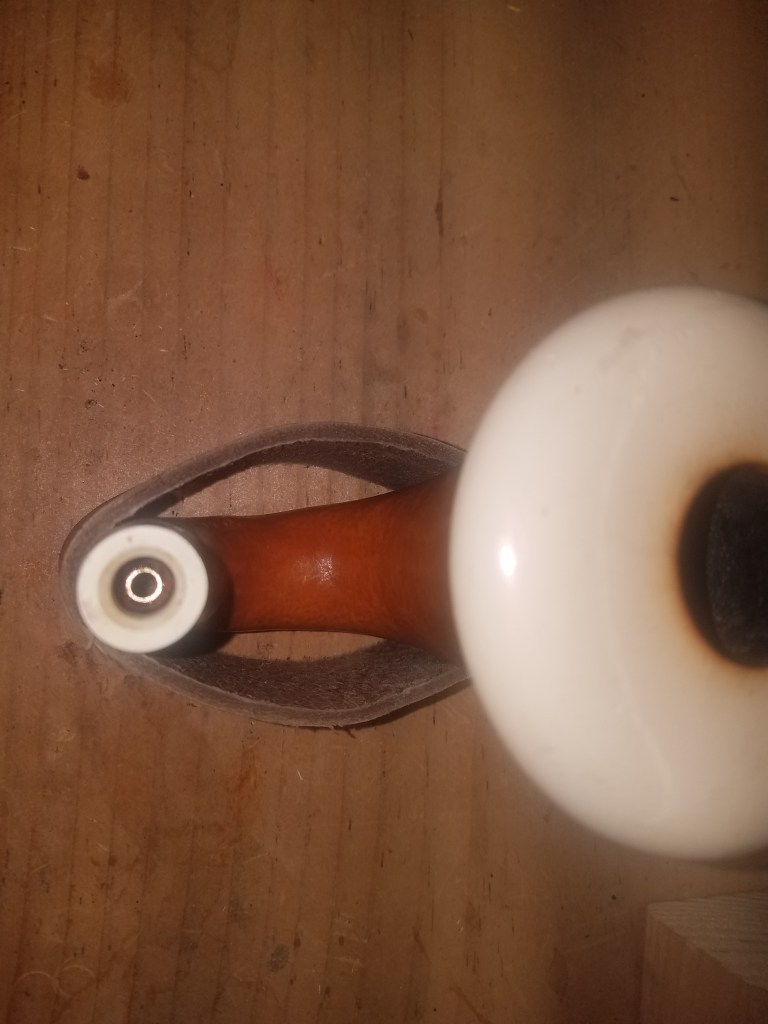
The picture above shows the vulcanite tenon after I got it free from the shank extension. This took several cycles of heating and freezing but eventually I got it loose by wrapping the shank extension in hockey tape and clamping it in my vise chuck.
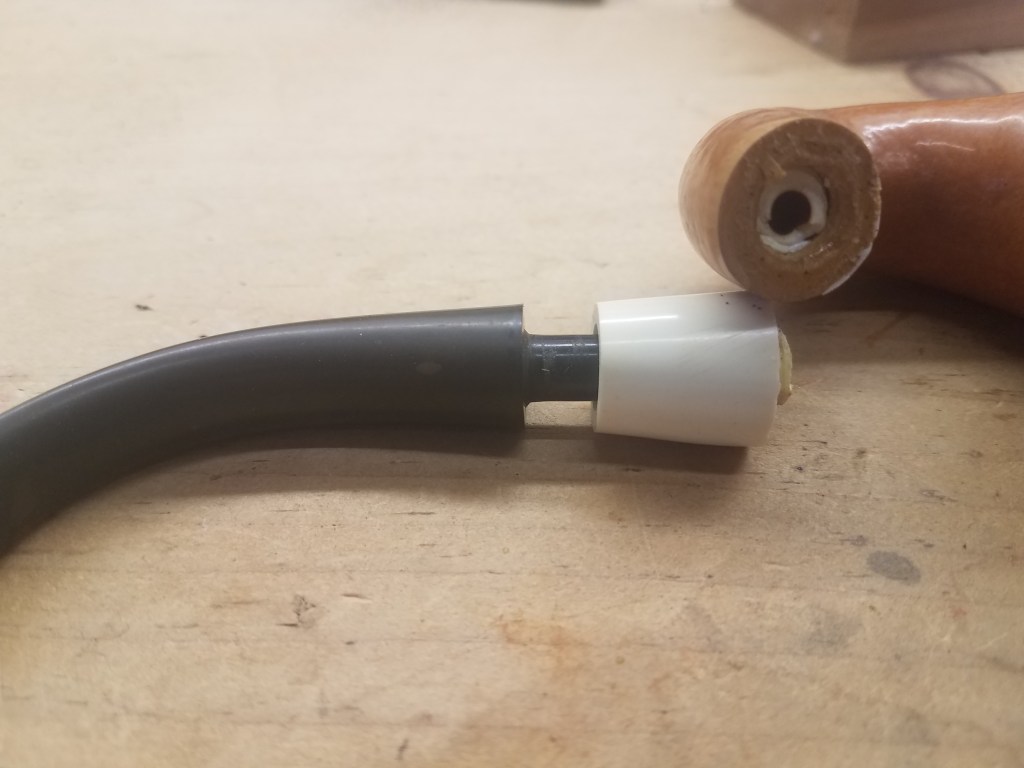
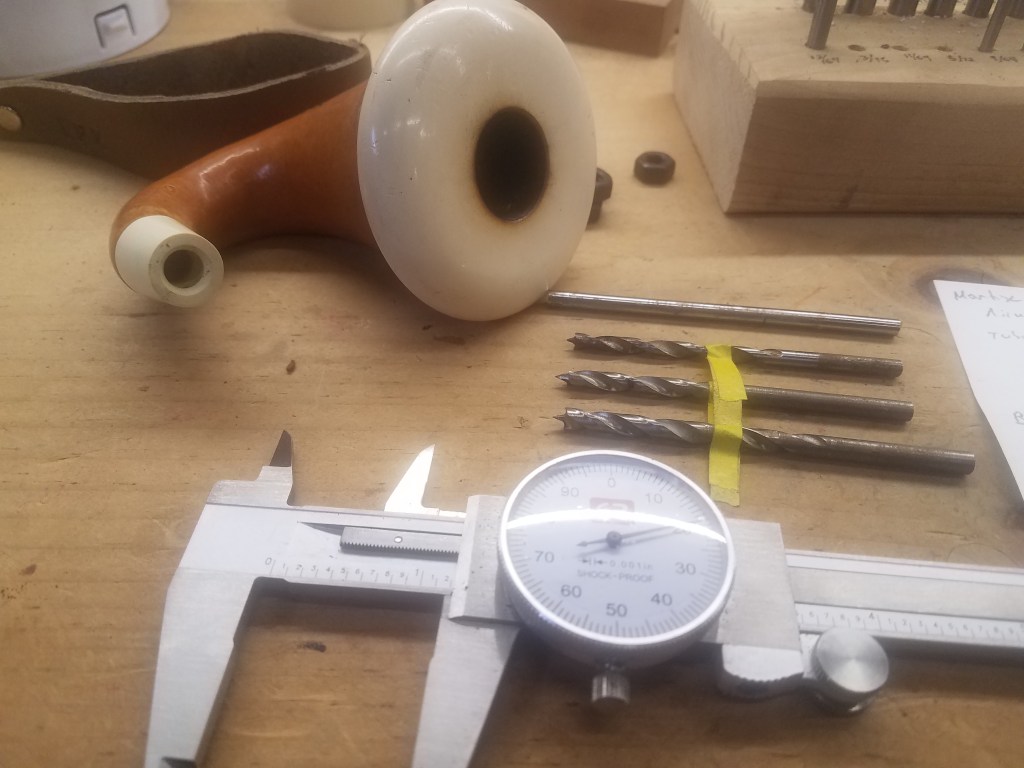
To put Humpty back together again was going to require glue and reinforcement. No point in gluing this back together and allowing it to continue being the weakest link in the chain. So I decided to reinforce with some stainless steel tubing. I used drill rods to determine the diameter of the airway which was 0.159 inches. I chose a piece of stainless steel tubing 3/16 inch outer diameter with a wall thickness of 0.015 inches. This would mean that I would need to enlarge the original airway to 0.188 inch (3/16”) but after inserting the tubing I would have an airway of 0.158 inches which is pretty darn close to 0.159. You can see the tubing to the right of the pipe in the picture below.

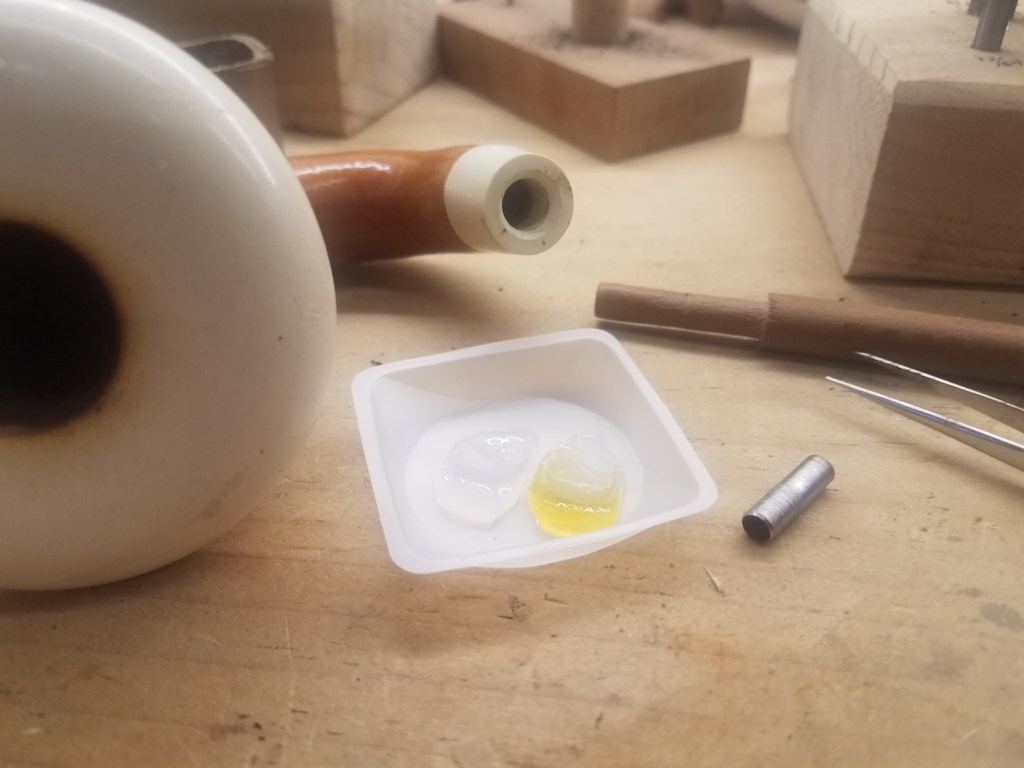
For the glue up, I wanted to rely on the original airway for alignment. Since it was a hole drilled through the ceramic it should align everything perfectly. I set it up as shown in the picture below using the drill rod for alignment, and the piece of yellow tape (it’s actually split along the glue line) to indicate that the shank extension is in the correct orientation.
Before applying the epoxy, I rubbed beeswax over the drill rod to ensure that I would be able to get it free without too much effort. The epoxy would not likely stick to the smooth steel rod, but I didn’t want to risk it. The epoxy I’m using is G/flex 655 which I have written about previously and is practically the only epoxy I use on pipes these days. It’s pricey, but it is just about perfect. I applied it liberally to the cracked edges of the ceramic and a bit less liberally to the mating surfaces of the gourd and ceramic. I did not want to have a lot of epoxy squeeze out once the pieces were assembled.
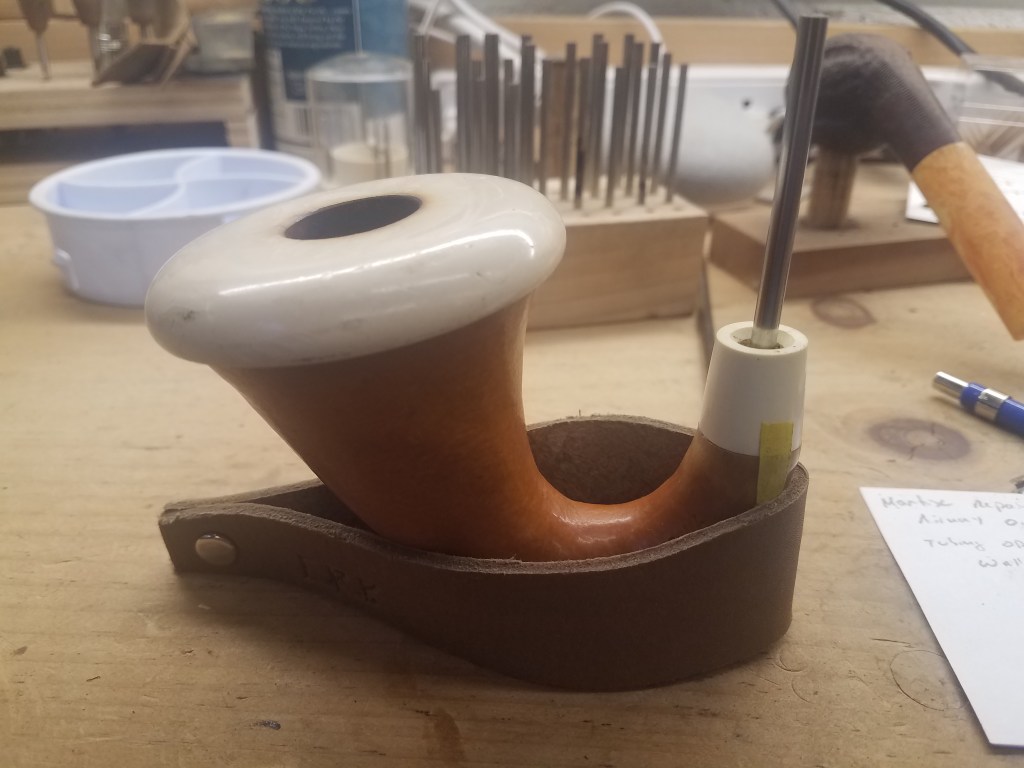
Clamping and odd shape like a calabash is difficult, and realistically in this case I only needed to insure that the parts did not shift for any reason. So I decided to take advantage of the drill rod again as a center point that I could use to stack some steel nuts with an appropriate sized washer. This provided plenty of weight to keep things aligned.
I allowed 24 hours for the epoxy to fully cure before removing the rod. I was very happy with the joint and to the extent that I dared to flex it I think it is a solid connection that would likely have been fine as is. However I wanted to reinforce the joint and try to avoid the same break occurring in the future.
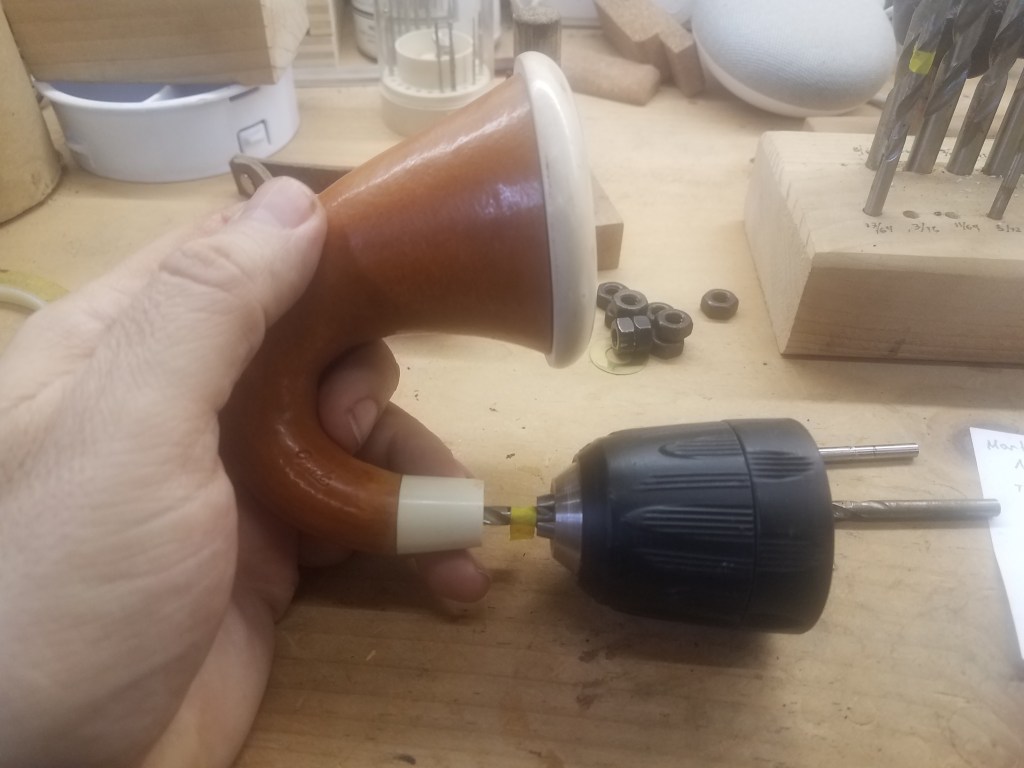
To use the 3/16 inch stainless steel tubing I would need to drill out the airway to that diameter. I choose 3 drill bits 5/32, 11/64, and 3/16 inch used in that order to gradually increase the airway diameter. I marked each bit with a yellow flag at the point where I should stop drilling relative to the end of the shank extension. I did not want to go all the way through the ceramic tenon, just enough to insure that the tubing would do it’s job and then I would design the stainless steel insert to sit in the resulting pocket and sit flush with the bottom of the mortise.
The drilling was done by hand, and very slowly. I was able to gradually increase the diameter and when complete the surface was a little rough. I don’t have reamers small enough to be of use here, but that is okay because I want some texture to the surface to grab the epoxy that will hold the tubing in place.
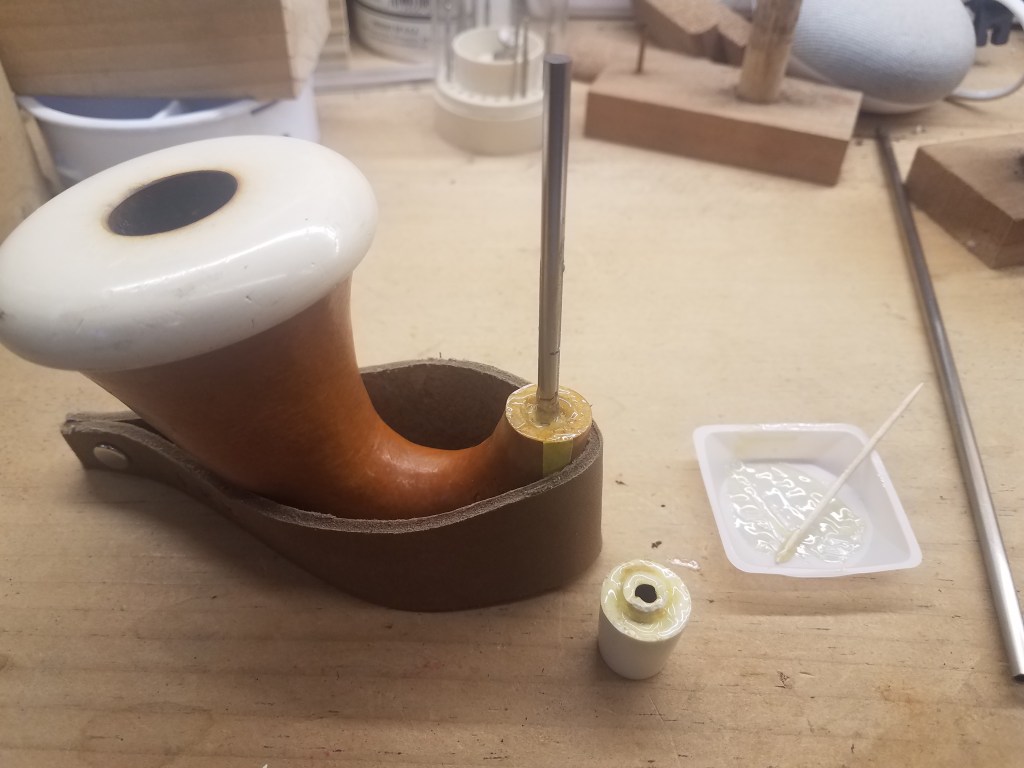
I prepared an appropriate length of stainless steel tubing on the lathe. The ends were squared and chamfered inside and out. The inside was polished, and the outside was scored with a file to again provide texture for the epoxy. The resulting part was then washed in acetone to remove any oils. The total length of the insert was 0.647” which should sit flush once it place. You can see the insert in the picture below to the right of the pre-mixed epoxy
The epoxy was mixed and applied in a thin coat covering the entire pice of tubing. I used the tweezers in the picture above to hold the tubing by inserting both points into the bore and allowing the spring action to grip the inner surface of the tube. Once the epoxy was on, I used the tweezers to guide the insert into place and the fit was perfect. Several pipe cleaners with denatured alcohol were used to clean up any excess epoxy and ensure that the airway was clear and then the epoxy was allowed to cure for 24 hours.
The finished pipe looks like it was never broken and should provide many more years of smoking pleasure for it’s owner.
When I do this sort of repair, I often get asked if the stainless steel tubing will cause moisture to condense or in some way disturb the airflow. I have used this sort of method to repair a large number of pipes that had broken shanks, burnouts, or flaws in the briar that led to seepage. To date no customer has complained of any issues. I’ve used it on 2 of my own pipes that I smoke regularly and I have not noticed any difference in the way the pipe smokes. I believe that this comes down to two basic rules that I have for making these repairs (warning, arcane shop secrets about to be revealed).
- Keep the tubing as short as possible. That’s why you saw that wacky 0.647 inch length above. I wanted it to be long enough to grab both the part of the shank extension that was still glued into the gourd, as well as enough to grab the part I was reattaching, but no longer than that. In theory, I don’t think this is as critical as rule #2. After all, many bamboo pipes are lined with stainless steel. Steel does a pretty good job of transferring heat so it should rapidly come to equilibrium in terms of temperature and there should be no more chance of condensation on steel than on briar. Unless #2 is ignored.
- Match the airway as close as possible. This is really critical. If I just found a piece of tubing that fit in the airway and used that, I would be introducing steps in the airway that would lead to turbulence and condensation. Match the airway diameter by either getting the right inner diameter stainless steel tubing (McMaster Carr has just about every one you can imagine) or, if absolutely necessary adjust the airway to match the tubing (within reason). And take the time to chamfer the ends and polish the inside. A pipe cleaner should pass without issue, and if the assembled pipe passed a cleaner before, it better be able to pass a cleaner after the repair.