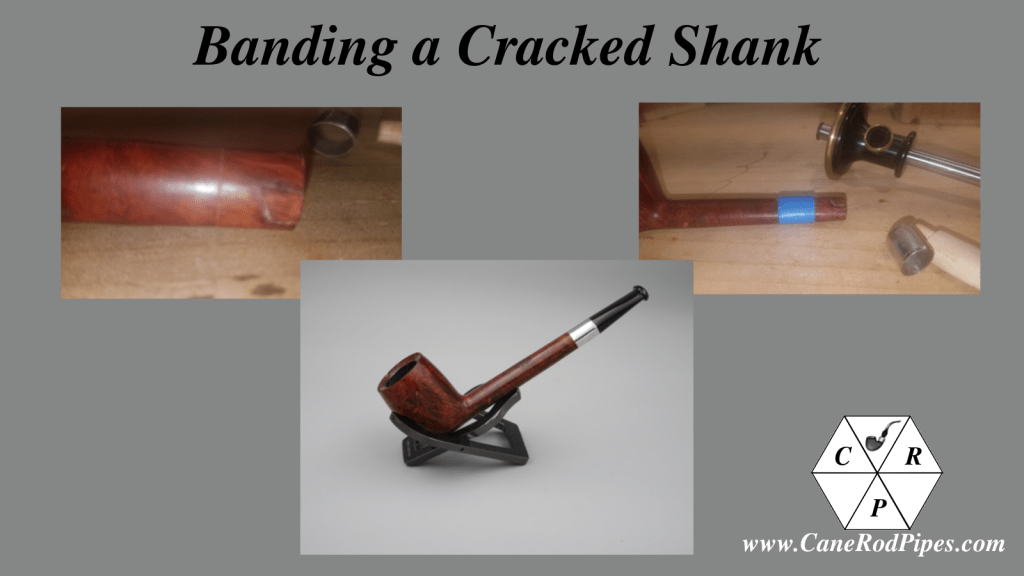
Well, I am not doing a great job keeping this blog up to date. We have had all the same struggles that the rest of the world has experienced during this lovely year, and it has left little time for reflection. And that is what this blog is really all about for me. Reflection on pipes and pipe restorations. More on the year will be coming in my annual holiday letter, but I have been wanting to write a bit about my banding process for some time now, and I wanted to have at least one post separating the 2019 and 2020 holiday posts.
Banding is an interesting topic in that it seems like a very simple thing, just find a band to fit and slide it on. But there are better ways to do this. And what if the shank is not round? When my friend Levi got in touch to request repairs on the Old Pal pipe, I thought it might be a good exercise to document and share in order to reveal some of the trickier aspects of banding a cracked shank.
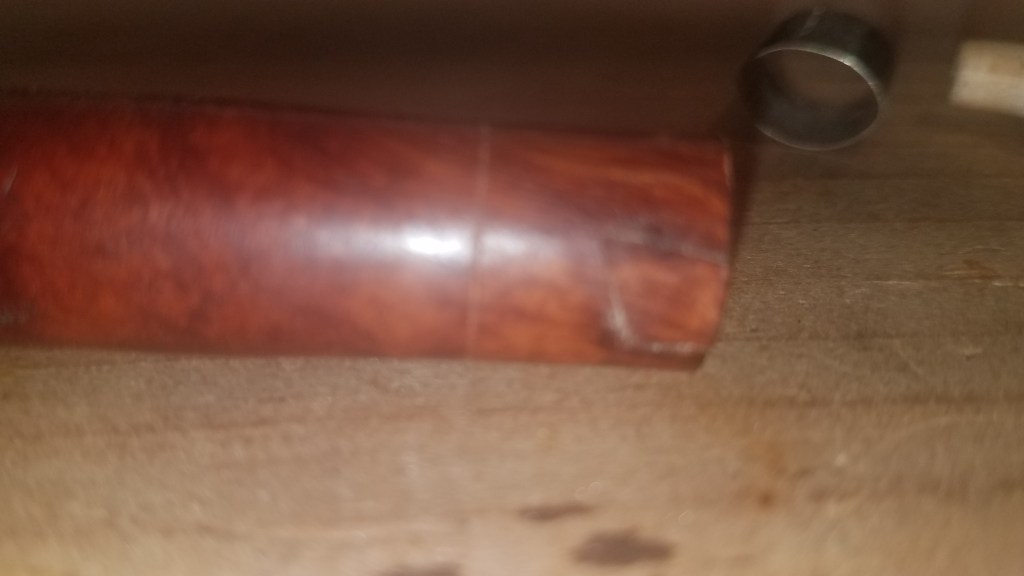
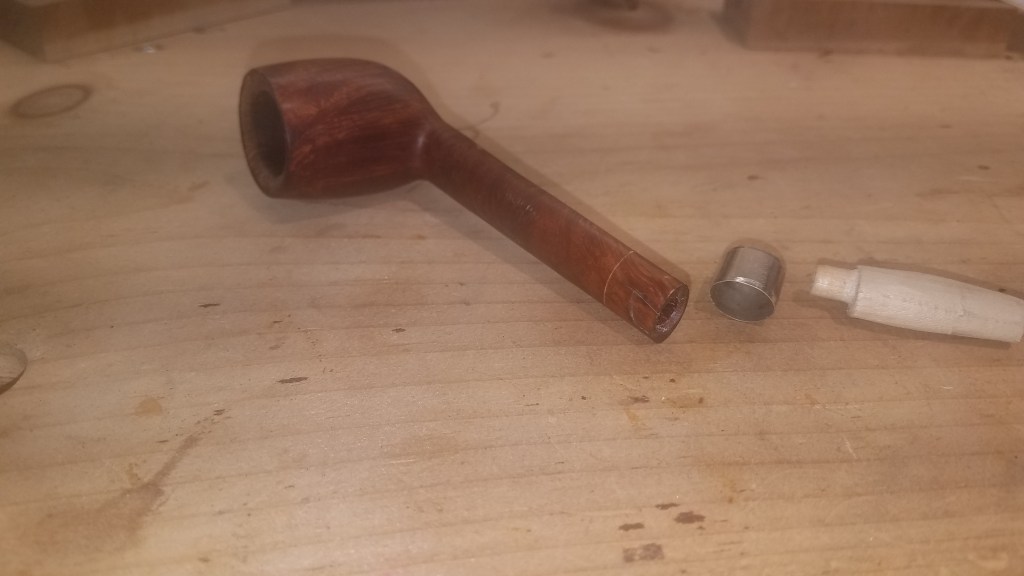
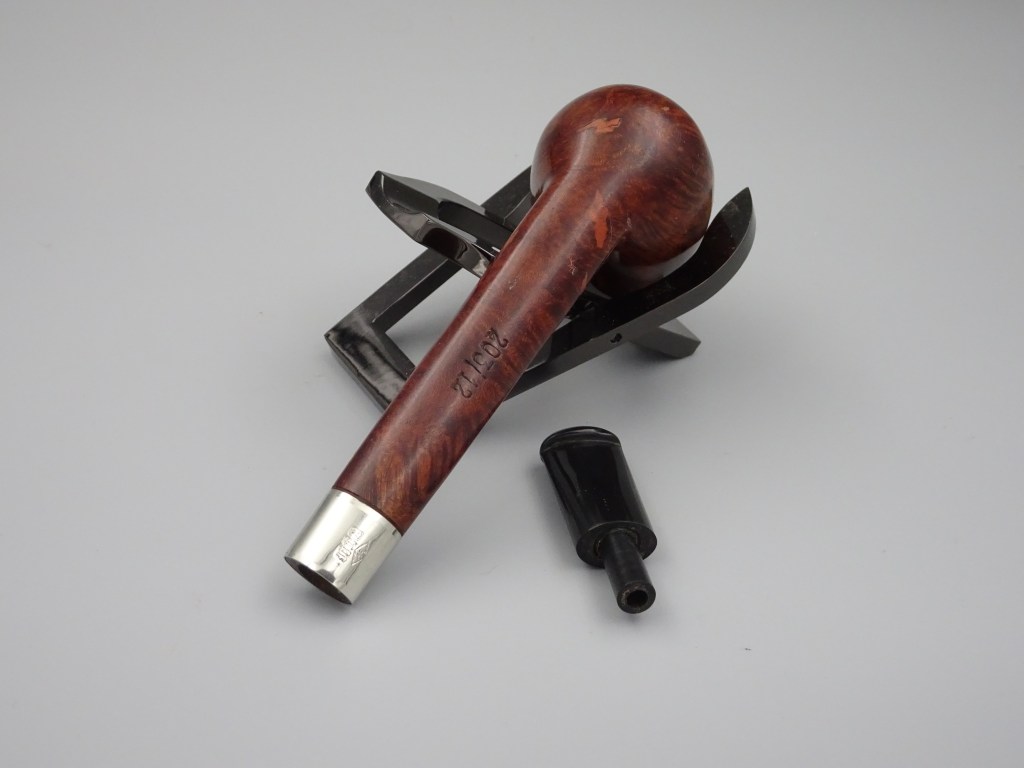
In the picture above you can see the problem, The shank cracked in multiple places and was in danger of loosing a piece. You can also see the scribe line I used to indicate where the band would end. The first step, which I am not showing, was to use a cone shaped piece of delrin to force the crack open and allow some cyanoacrylate glue penetrate and coat the ragged edges. The crack closed up well when the cone was removed, but I wrapped it in several layers of cloth hockey tape to act as a clamp just to be sure.
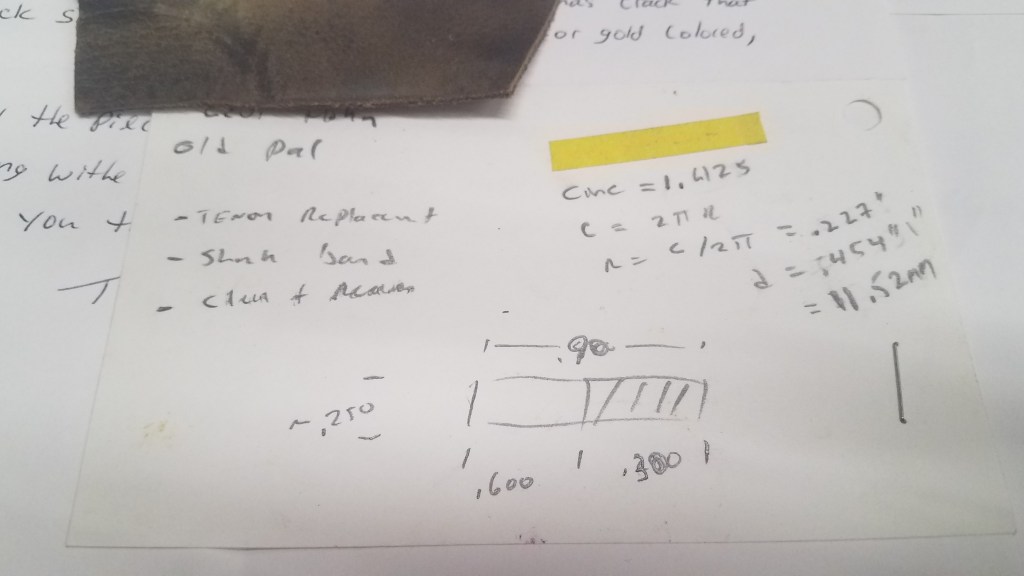
Next job was to determine the size band needed. This is a bit difficult given that the shank on this Canadian is oval. To figure this out, I take a thin (1/4”) piece of masking tape and wrap it carefully around the shank keeping it square to the shank. I then slice the tape so that it peels of and represent the exact circumference of the shank. The next picture shows the card where I placed the tape and did some basic geometry to figure out that the diameter of a circle with the same circumference would be ~11.5 mm.
I want the band to fit perfectly, and since I can only buy bands in mm increments, I chose an 11 mm band. This will allow me to recess the band a bit and make it look more like it was part of the original design.
The next challenge is to fit a round band on an oval shank. The same sort of issues come up for a diamond, teardrop, or any non-circular shank. The bands are quite easy to bend, but anything shape that is more than slightly out of round can be challenged to match freehand. So I take the approach of making a false shank out of basswood. I turn an appropriate tenon on a basswood blank and then use files and sandpaper to match it to the shank profile. You can see the false shank below. Note that I have tapered it to allow the band to fit over the non-tenon end. I then slide the band down the false shank and slowly mold it to the shape of the pipe shank. It is a bit hard to explain in writing, so if you would prefer a video check out my video on Banding a Konstantinos Anastasopoulos Reverse Calabash.
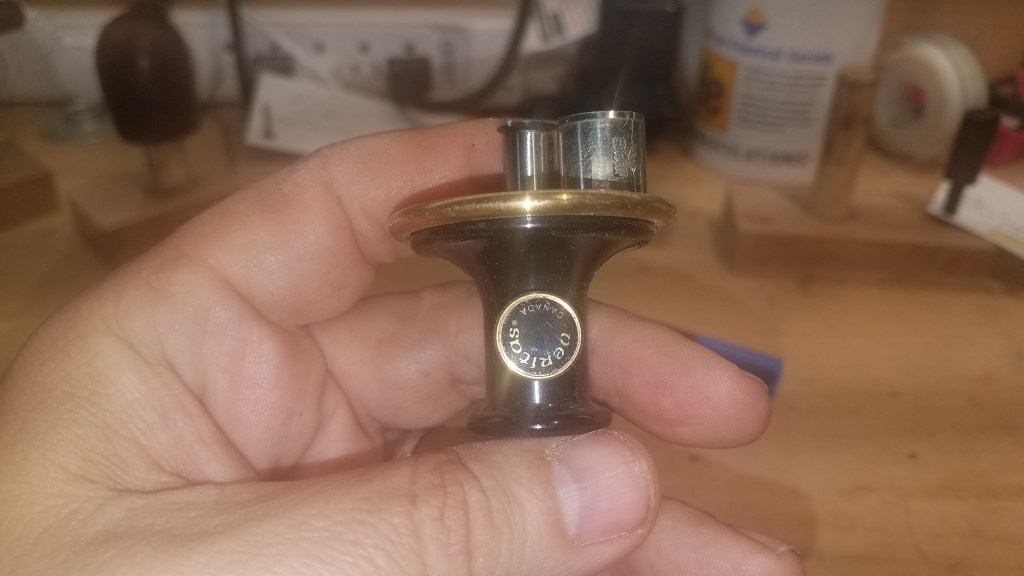
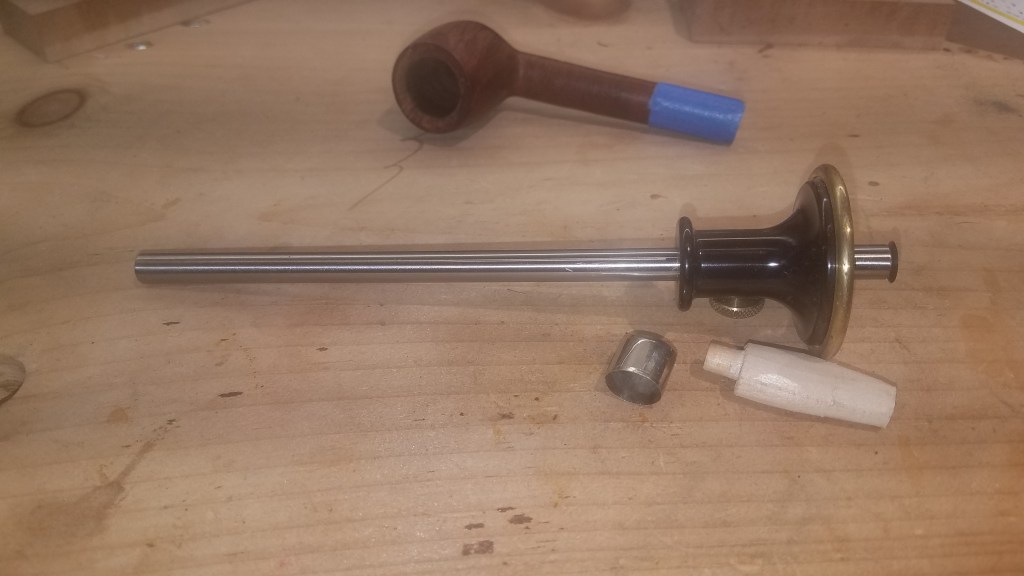
But first, we have some work to do on the pipe shank to prepare it for receiving the band. For the first step here I use a Lee Valley Veritas marking gauge which never was a favorite of mine for woodworking, but is perfect for being able to accurately gauge the height of the band.
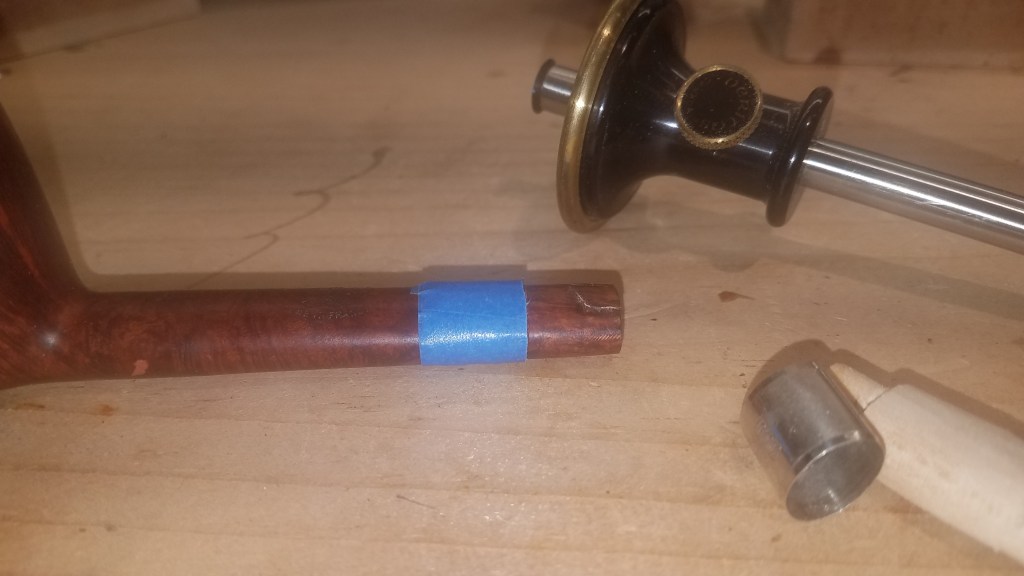
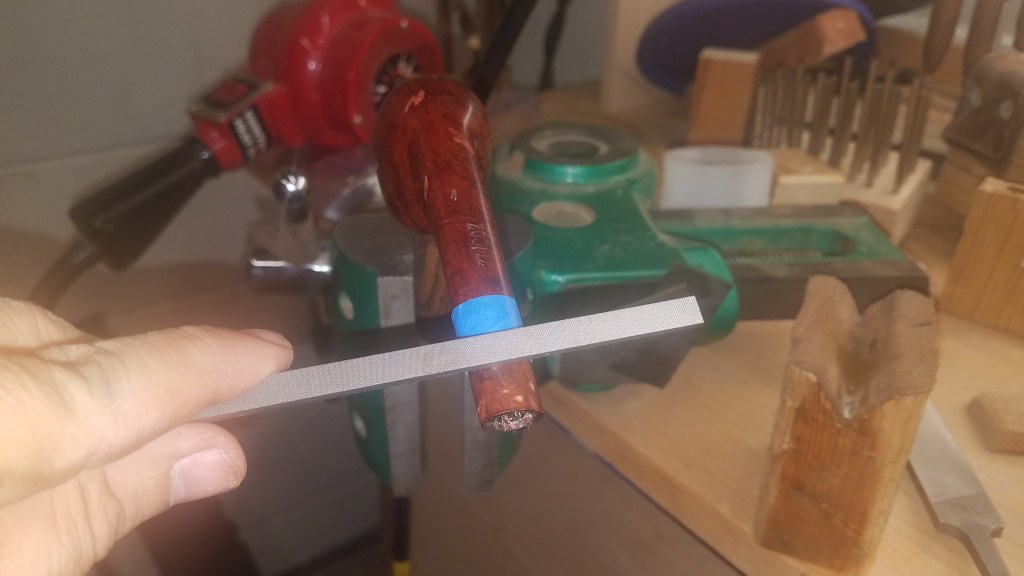
I next put a generous amount of painters tape (2-3 layers) on the shank. This is going to form a boundary that will prevent me from messing up the part of the shank that will not be banded. In the picture below, you see the shank has been taped, the marking gauge is set, and the band is ready to be molded to shape.
Once I use the marking gauge to cut through the painters tape leaving the region to be banded exposed, and I have shaped the band to a close approximation of it’s final form it is time to reduce the shank diameter to accept the band.
This is done with fine files and a lot of patience. It is critical to remove material evenly all the way around the shank or there will be voids between the band and the briar. You can see the start of this process in the photo below and also notice how the tape provides a fence for the safe edge of the file. You might also note that there are some crazy fills in this pipe.
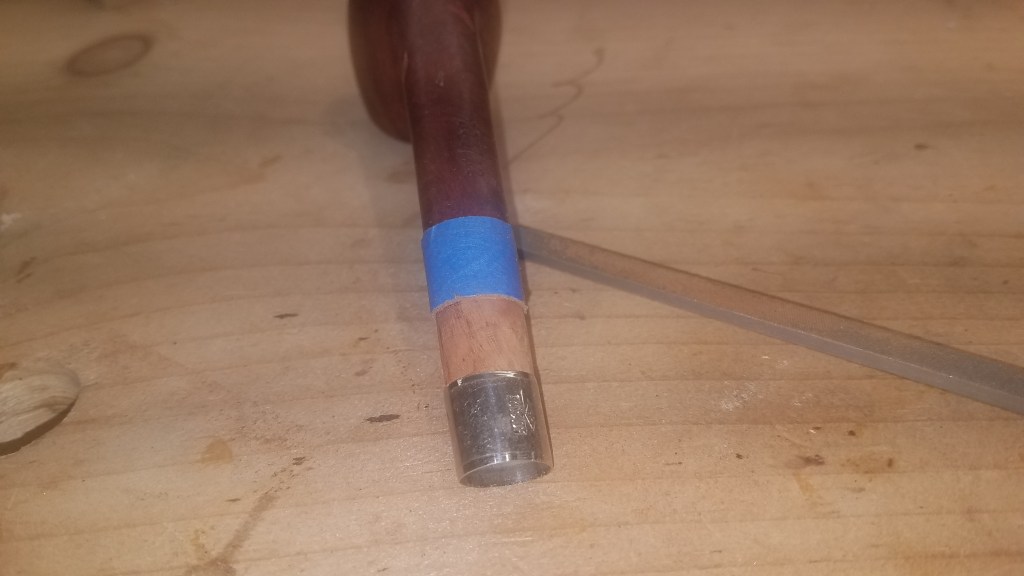
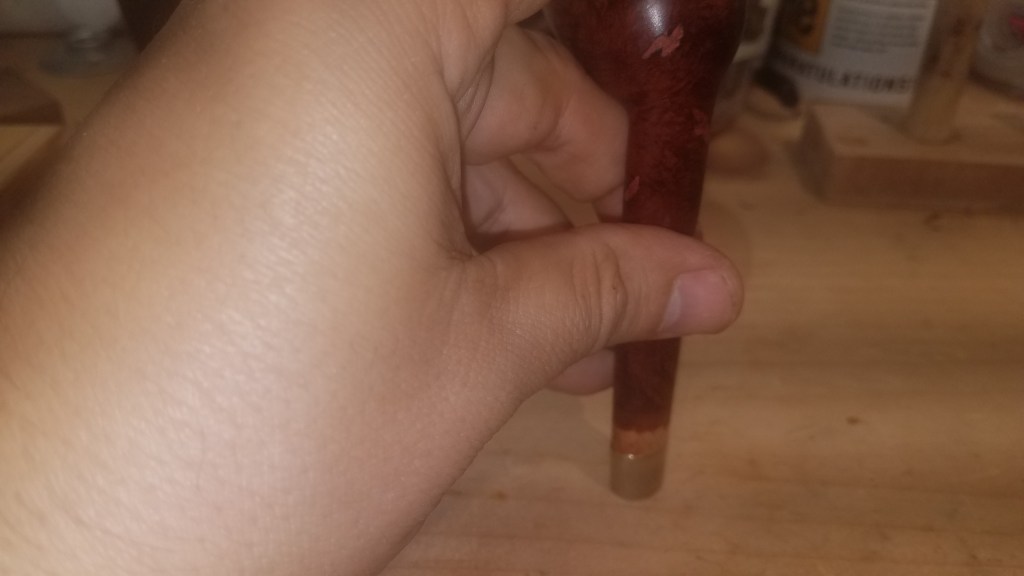
So we remove a bit of material, and test fit the band, repeating until it just almost fits. We don’t want it to slide on, just feel like it is close. This is critical because the goal is to have the band securely attached to the briar without any glue. In the picture below we have just about gotten to that point.
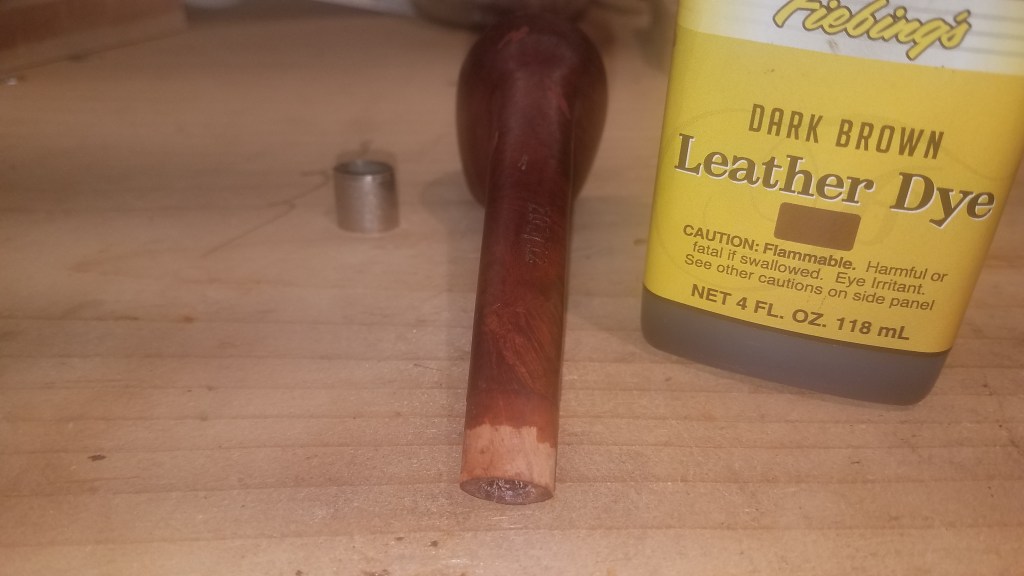
Next, we remove the tape and apply a bit of matching dye to the now bare briar. This is done in case there is a small gap once the band is finally fit. Even a slight gap will stick out like a sore thumb if it is the color of bare briar.
Once the dye has dried we need to heat the band. This is done to expand the metal and allow it to slip over the briar shank. Once the band cools, it will shrink onto the shank and will not come off without significant persuasion.
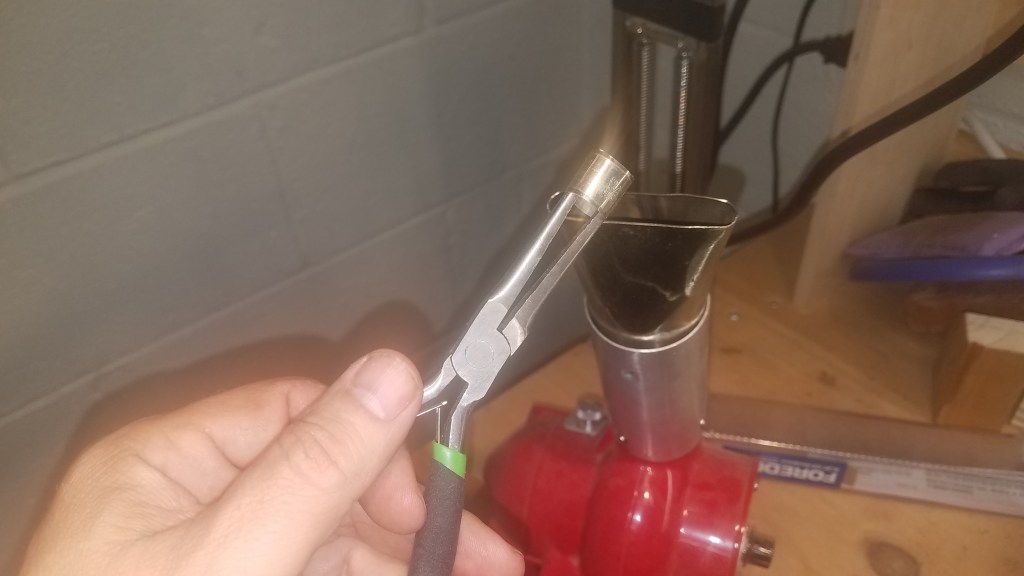
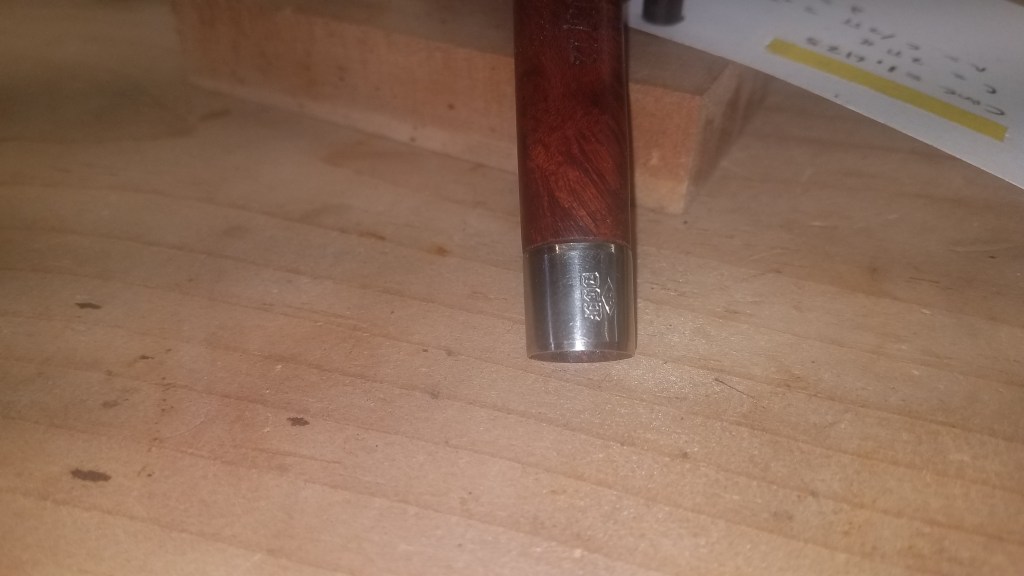
After heating for about 5 minutes, the band is placed on the bench top, carefully aligned, and the shank is pressed into place.
Once seated, everything is allowed to cool. You can see below the nice fit that maintains the lines of the shank. This method makes it appear that the band was part of the original design rather than a repair.
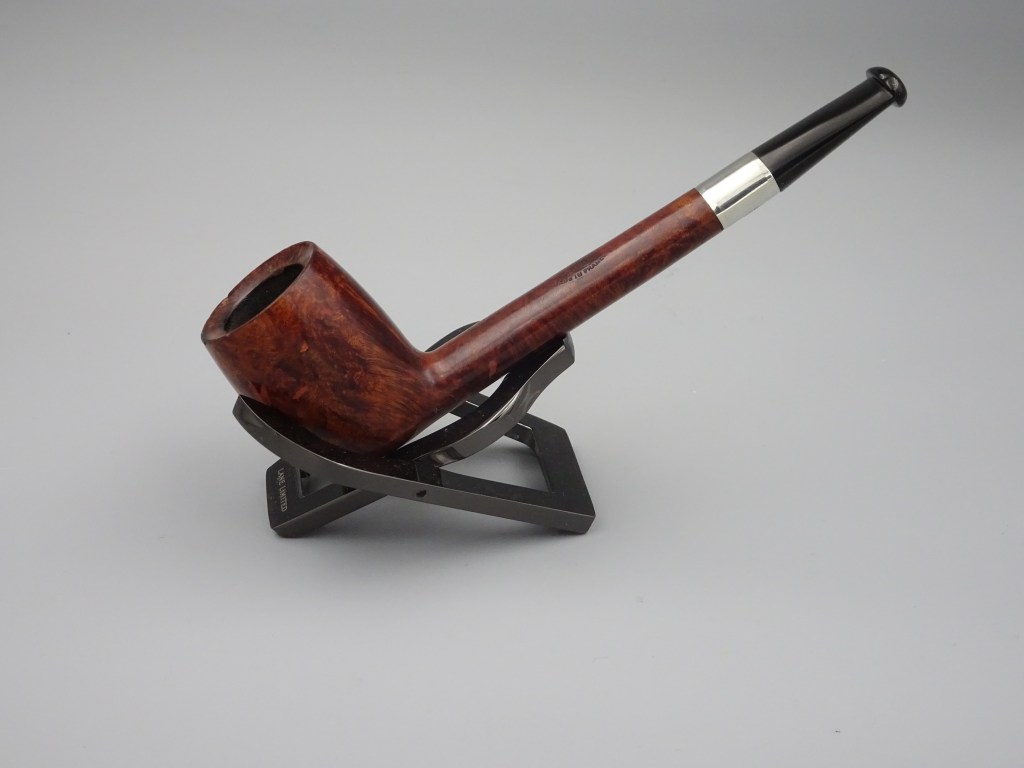
And after some buffing, we have a final product that should provide Levi with many years of smoking enjoyment.
😃Very cool, looks like it came right from the factory, nicely done buddy. Always enjoy these thanks for sharing, God bless ya Mike 😉👍