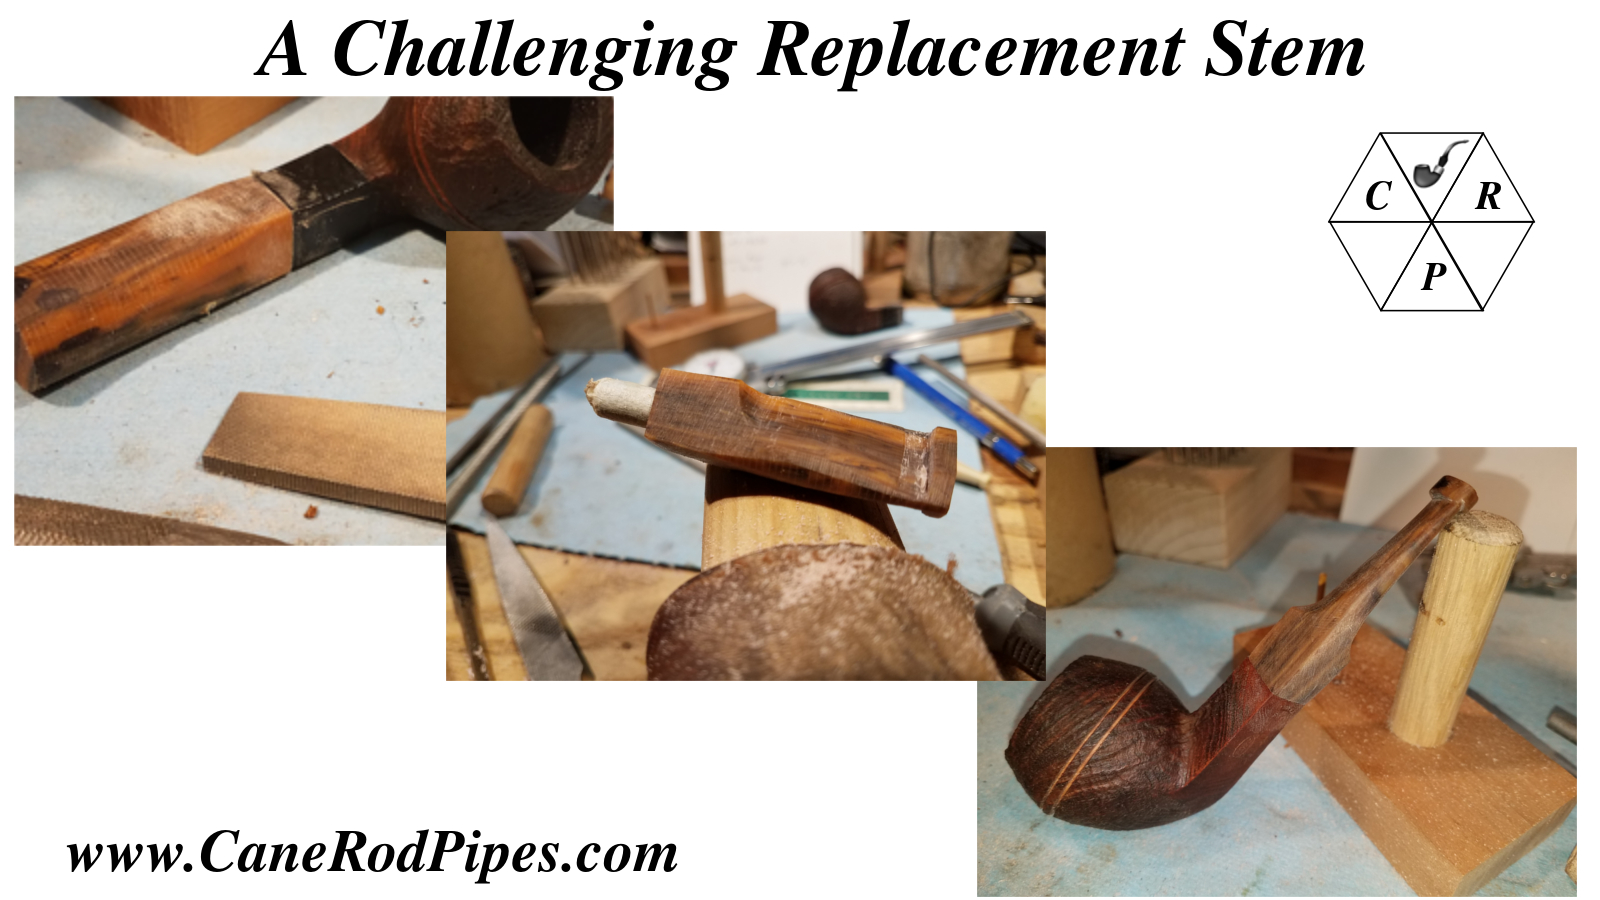

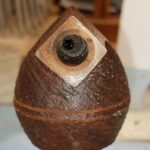
In my opinion, diamond shank stems are the most difficult to match. When making a pipe with a diamond shank, the stem and shank are shaped together as one piece allowing for a seamless fit. However this can not be done when making a replacement stem without causing damage to the shank. I had a customer ask me to make a replacement stem for a Ropp diamond shanked bulldog. The original was a horrible looking horn stem that had cracked. Challenge accepted!
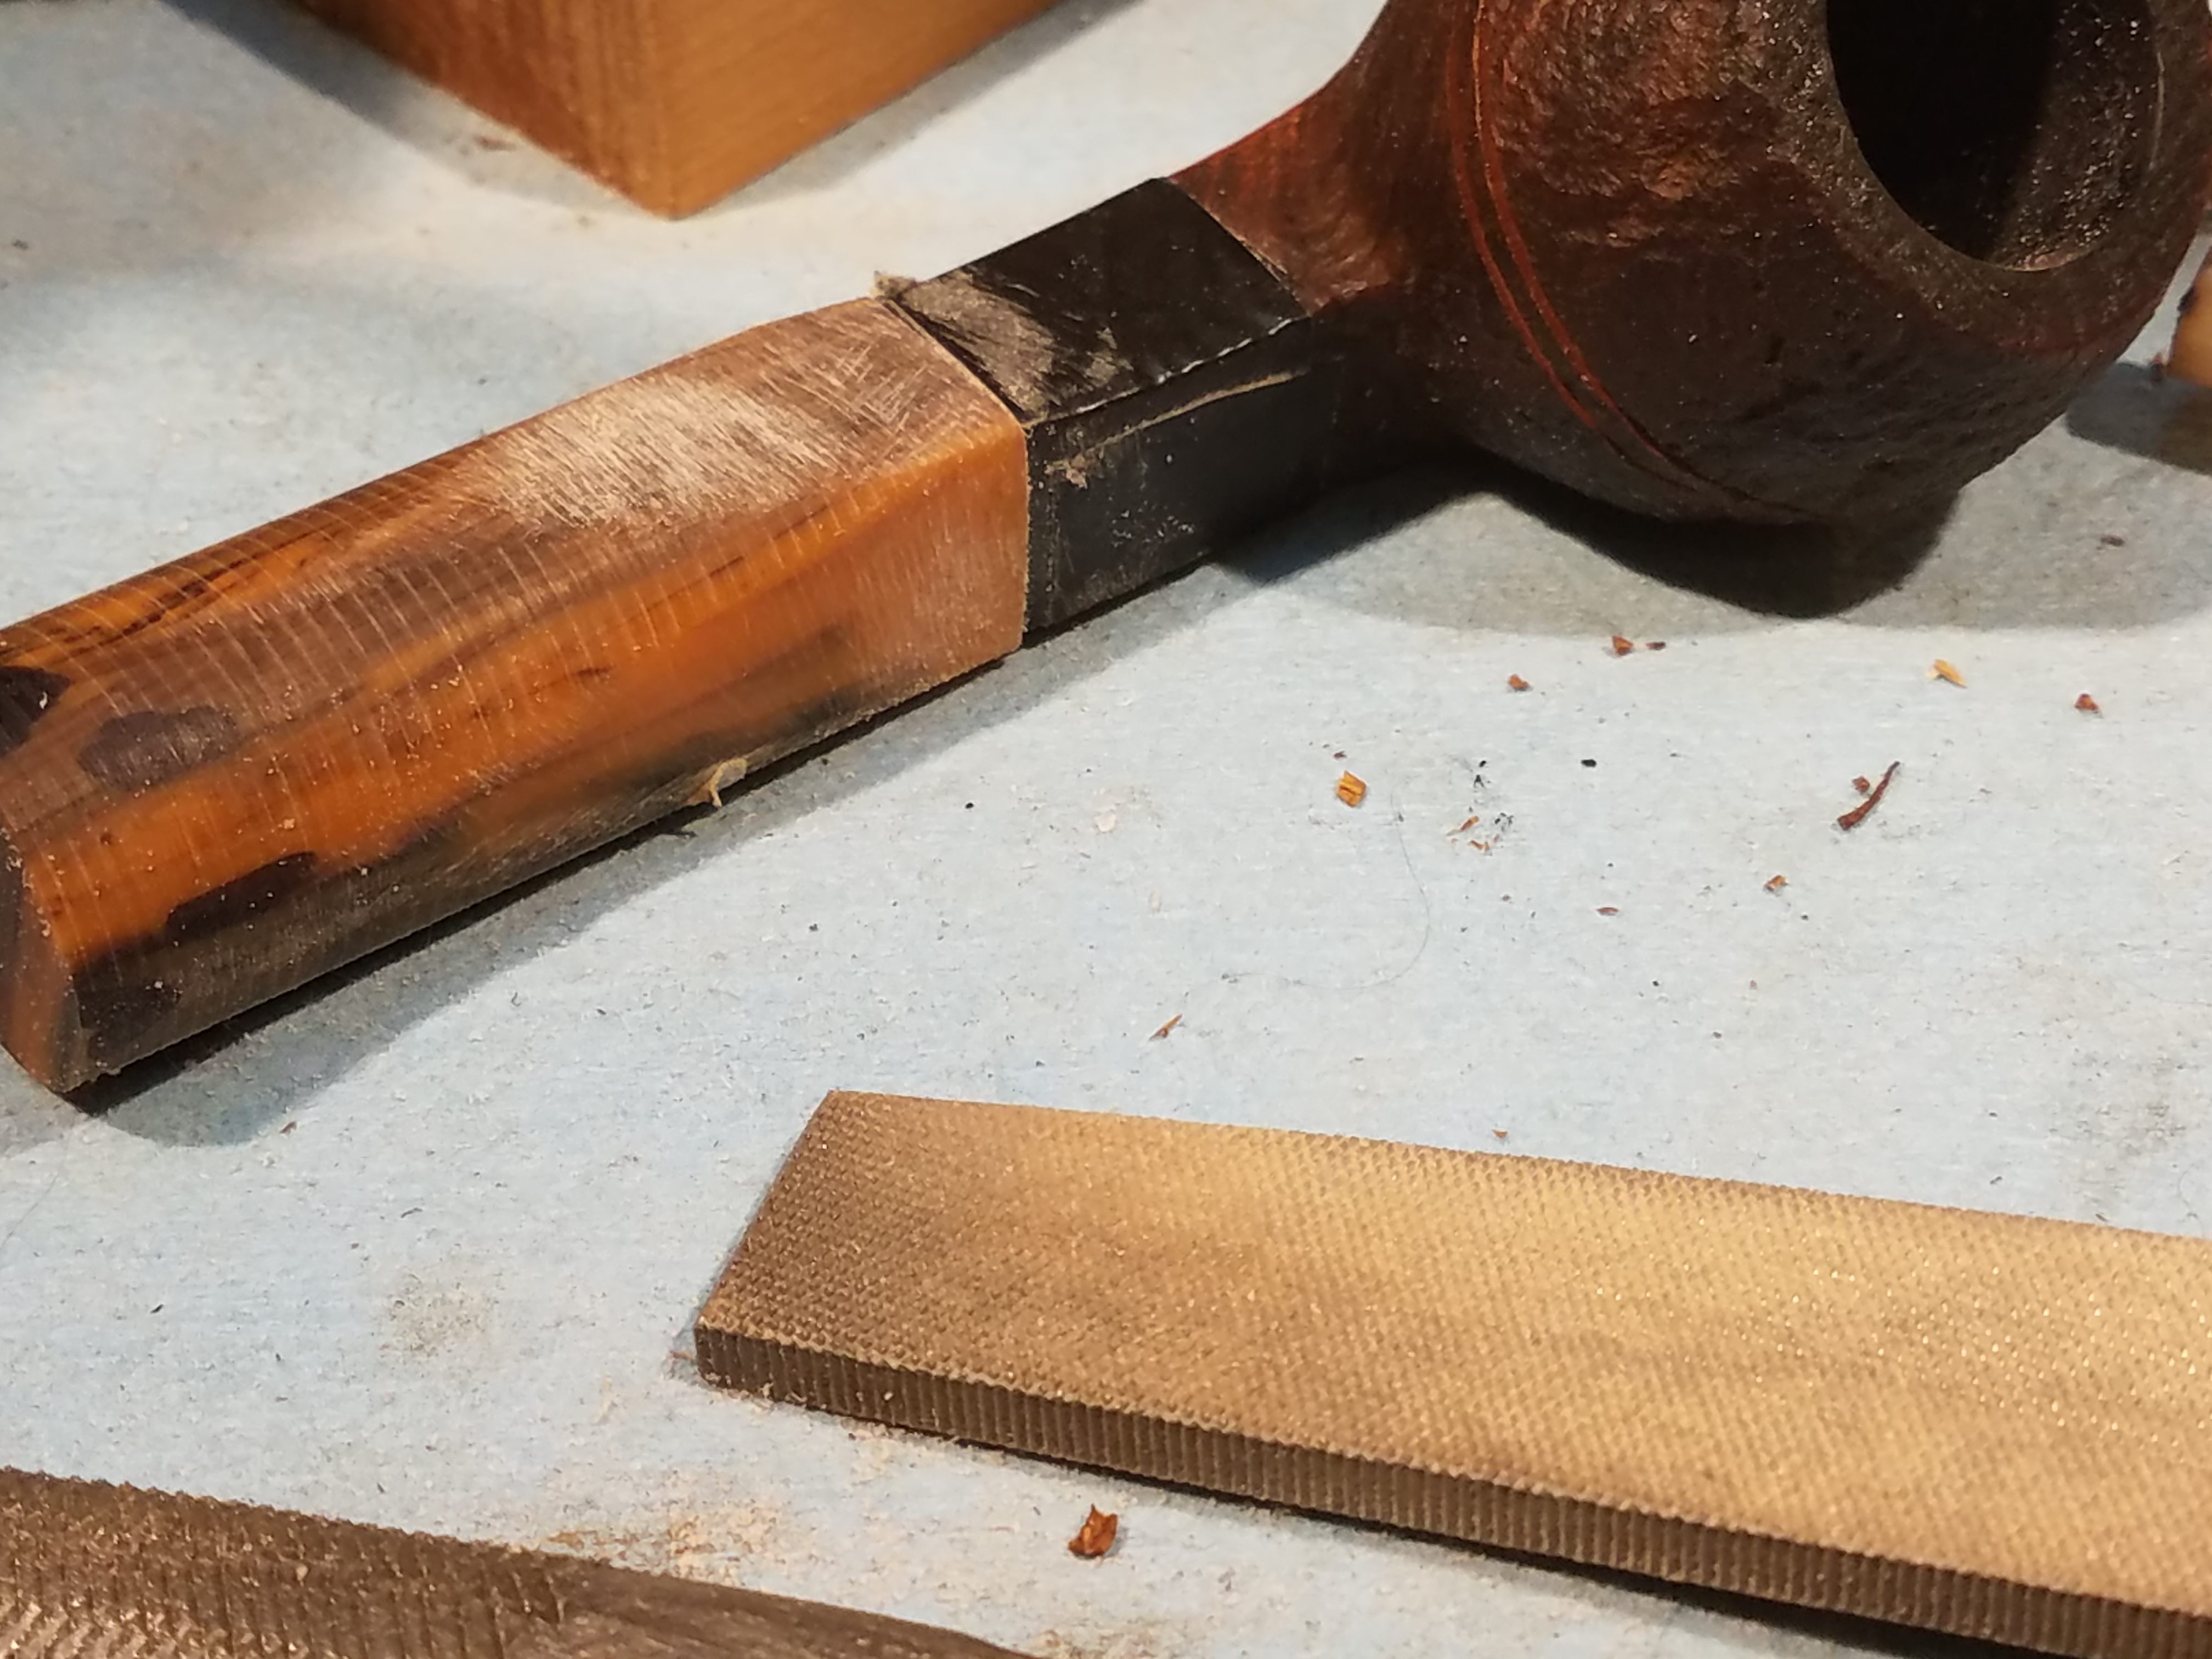
To begin shaping the stem from round stock, we need to use the faces of the shank for reference. The best we can do is protect the shank with some tape and use files to carefully get close to the correct dimensions.
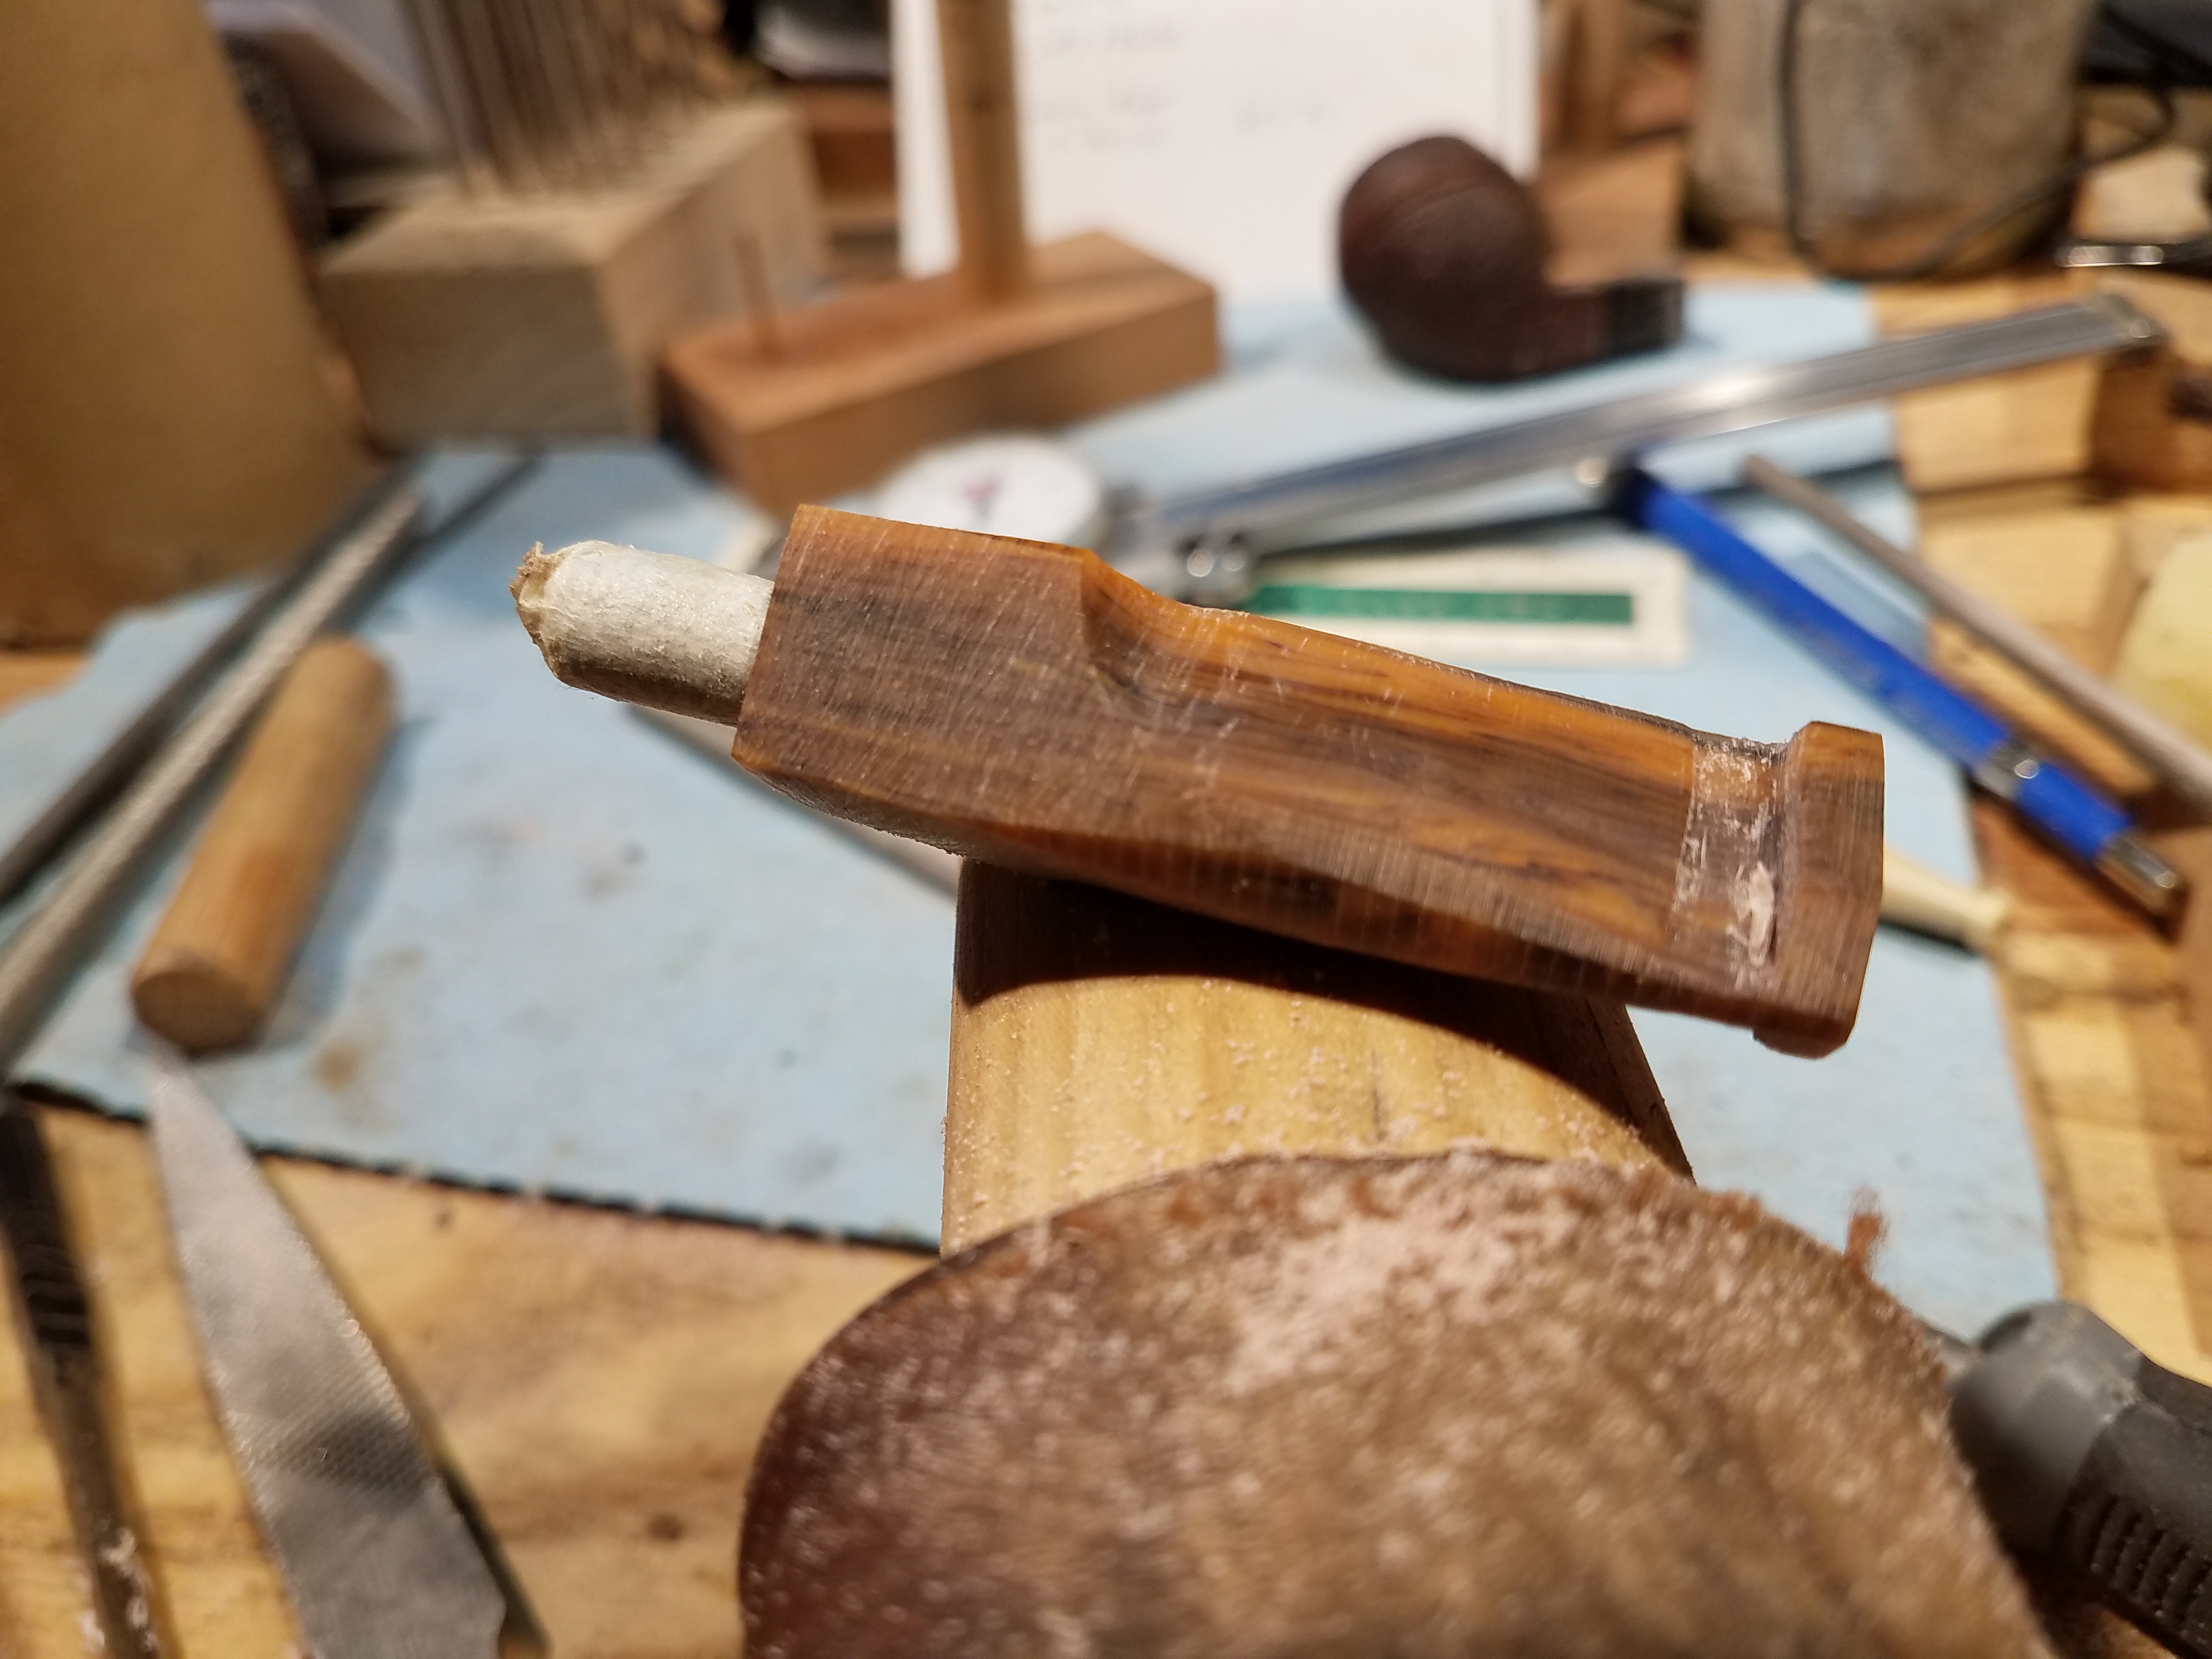
After getting close to the right dimensions, round files are used to start the saddle curve on the top and bottom of the stem
Then more hand filing to begin roughing out the basic stem shape. Note that the flat diamond portions are not fully shaped at this stage. Just the portion closest to the shank is defined. The rest can be shaped later once we complete the final fit to the briar.
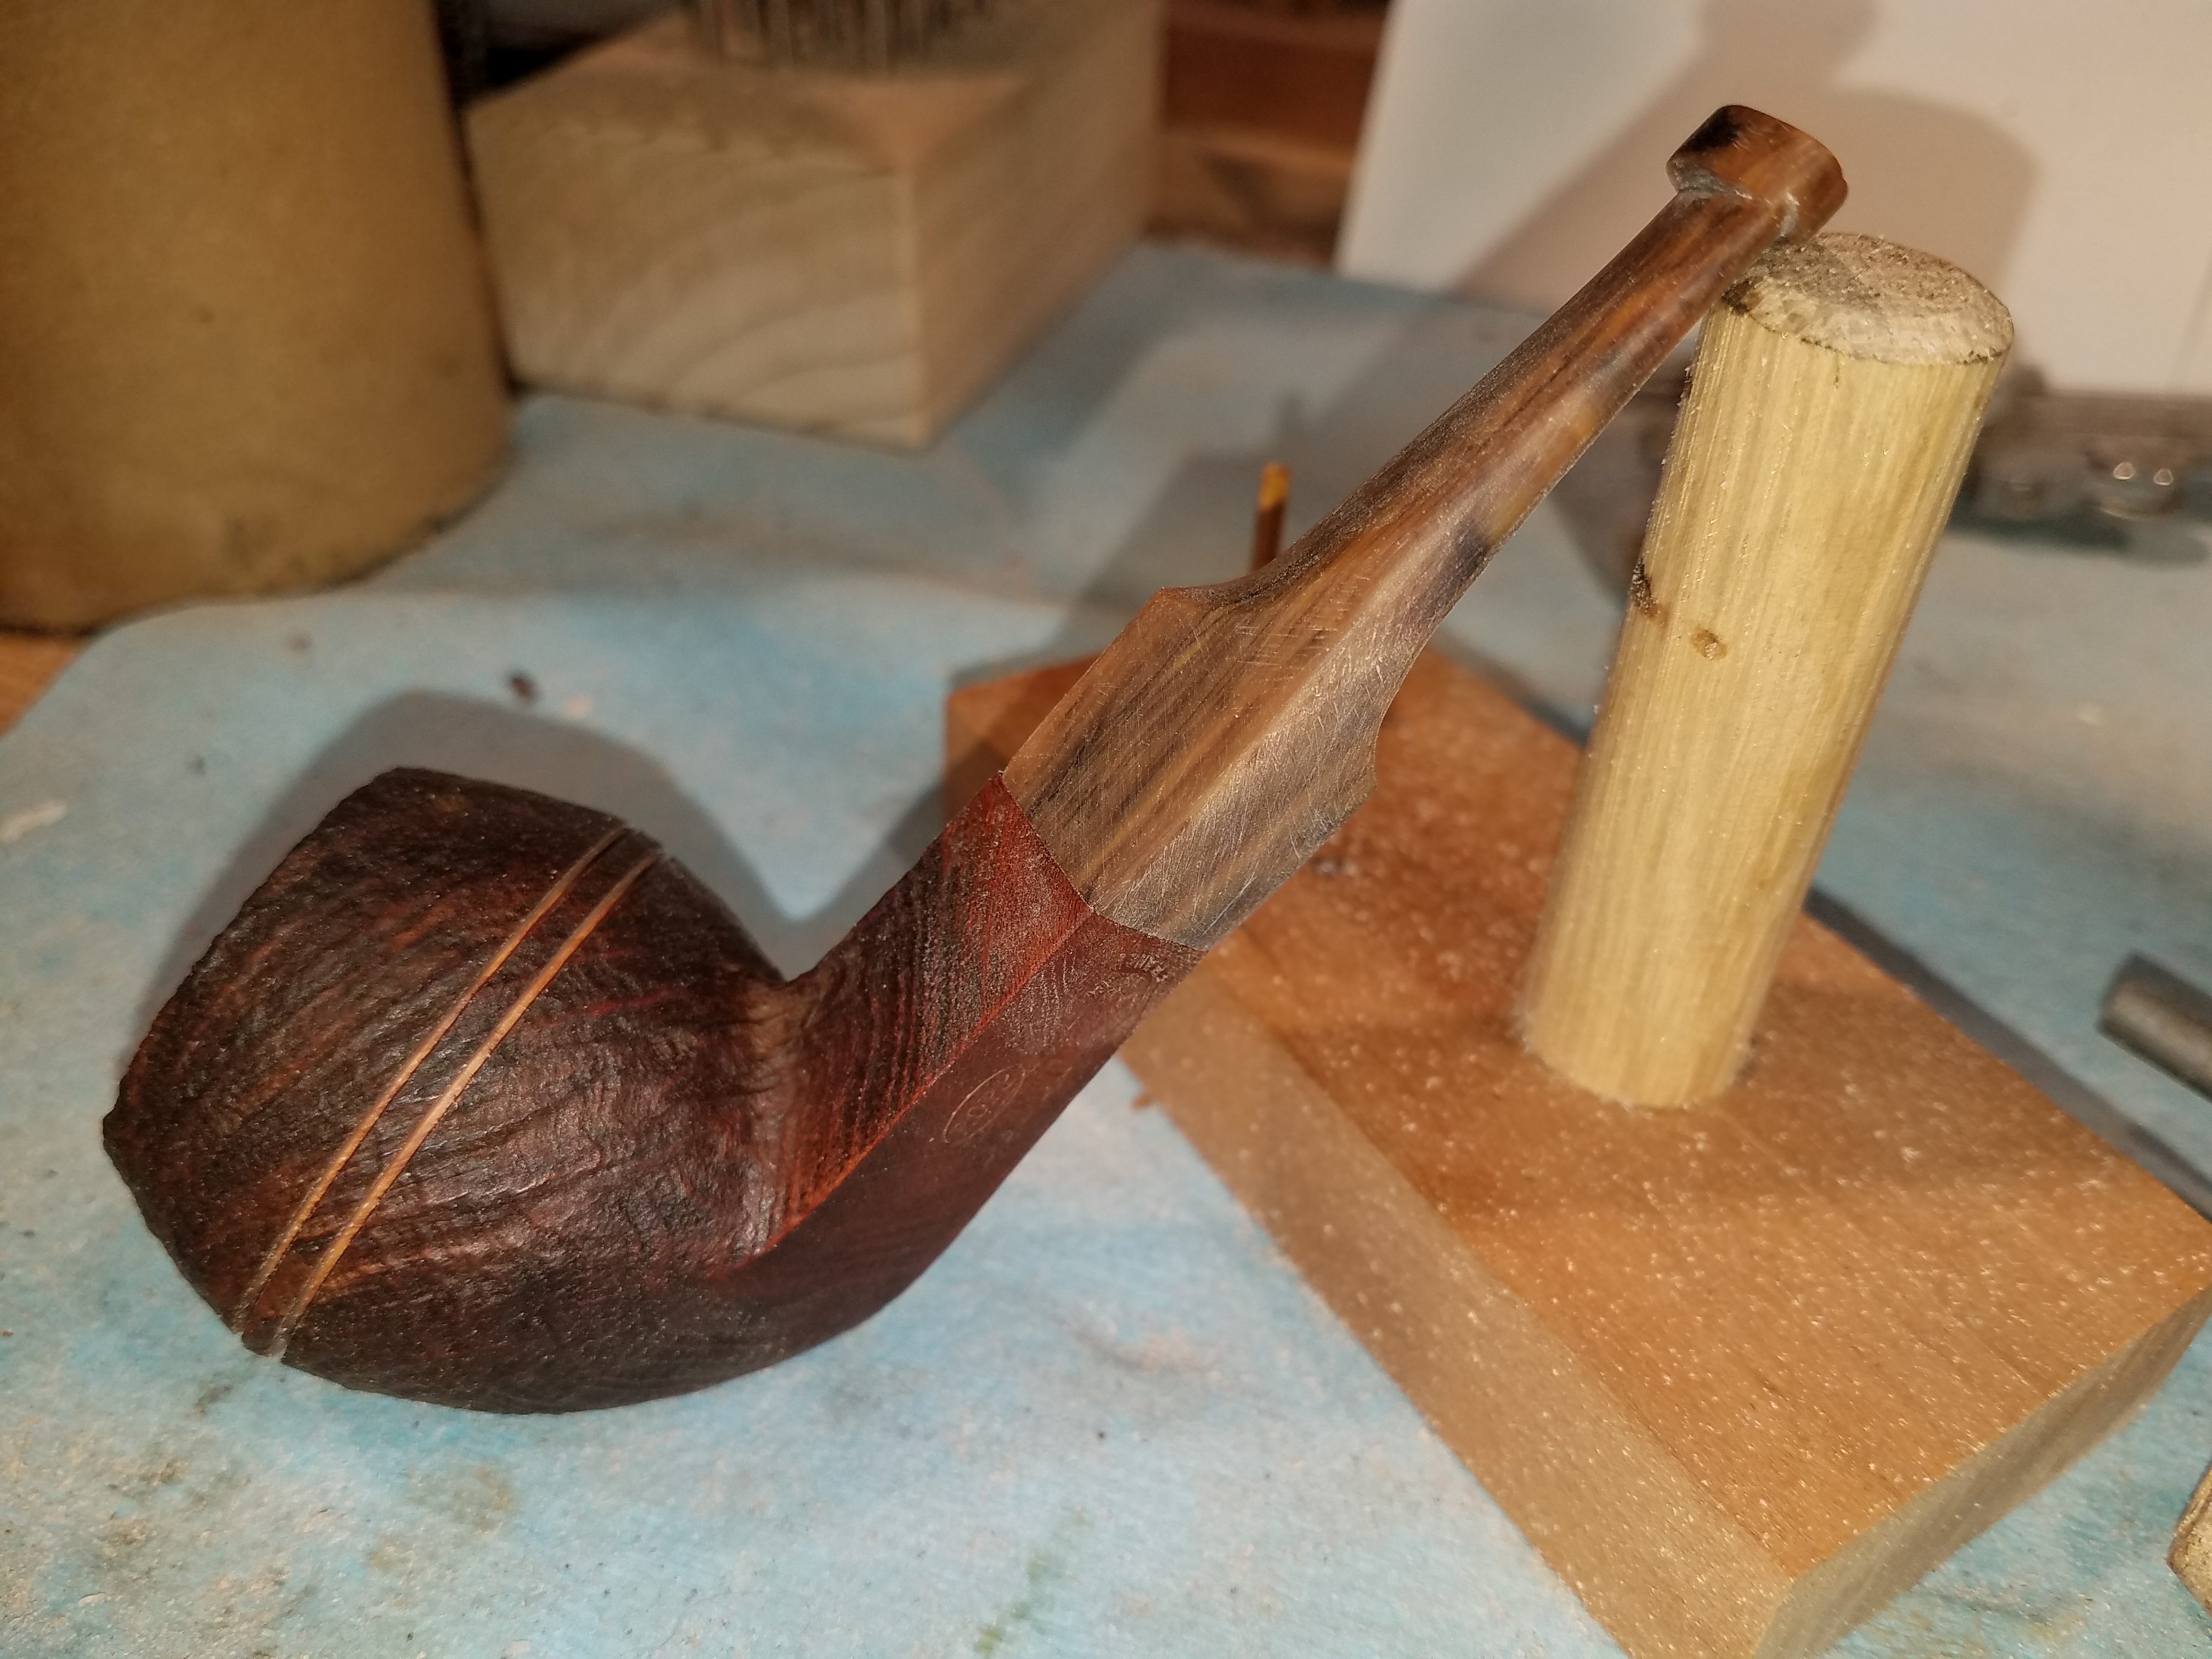
The stem is mounted in a block by the tenon and more filing ensues. We are now approaching the final shape for the bulk of the stem.
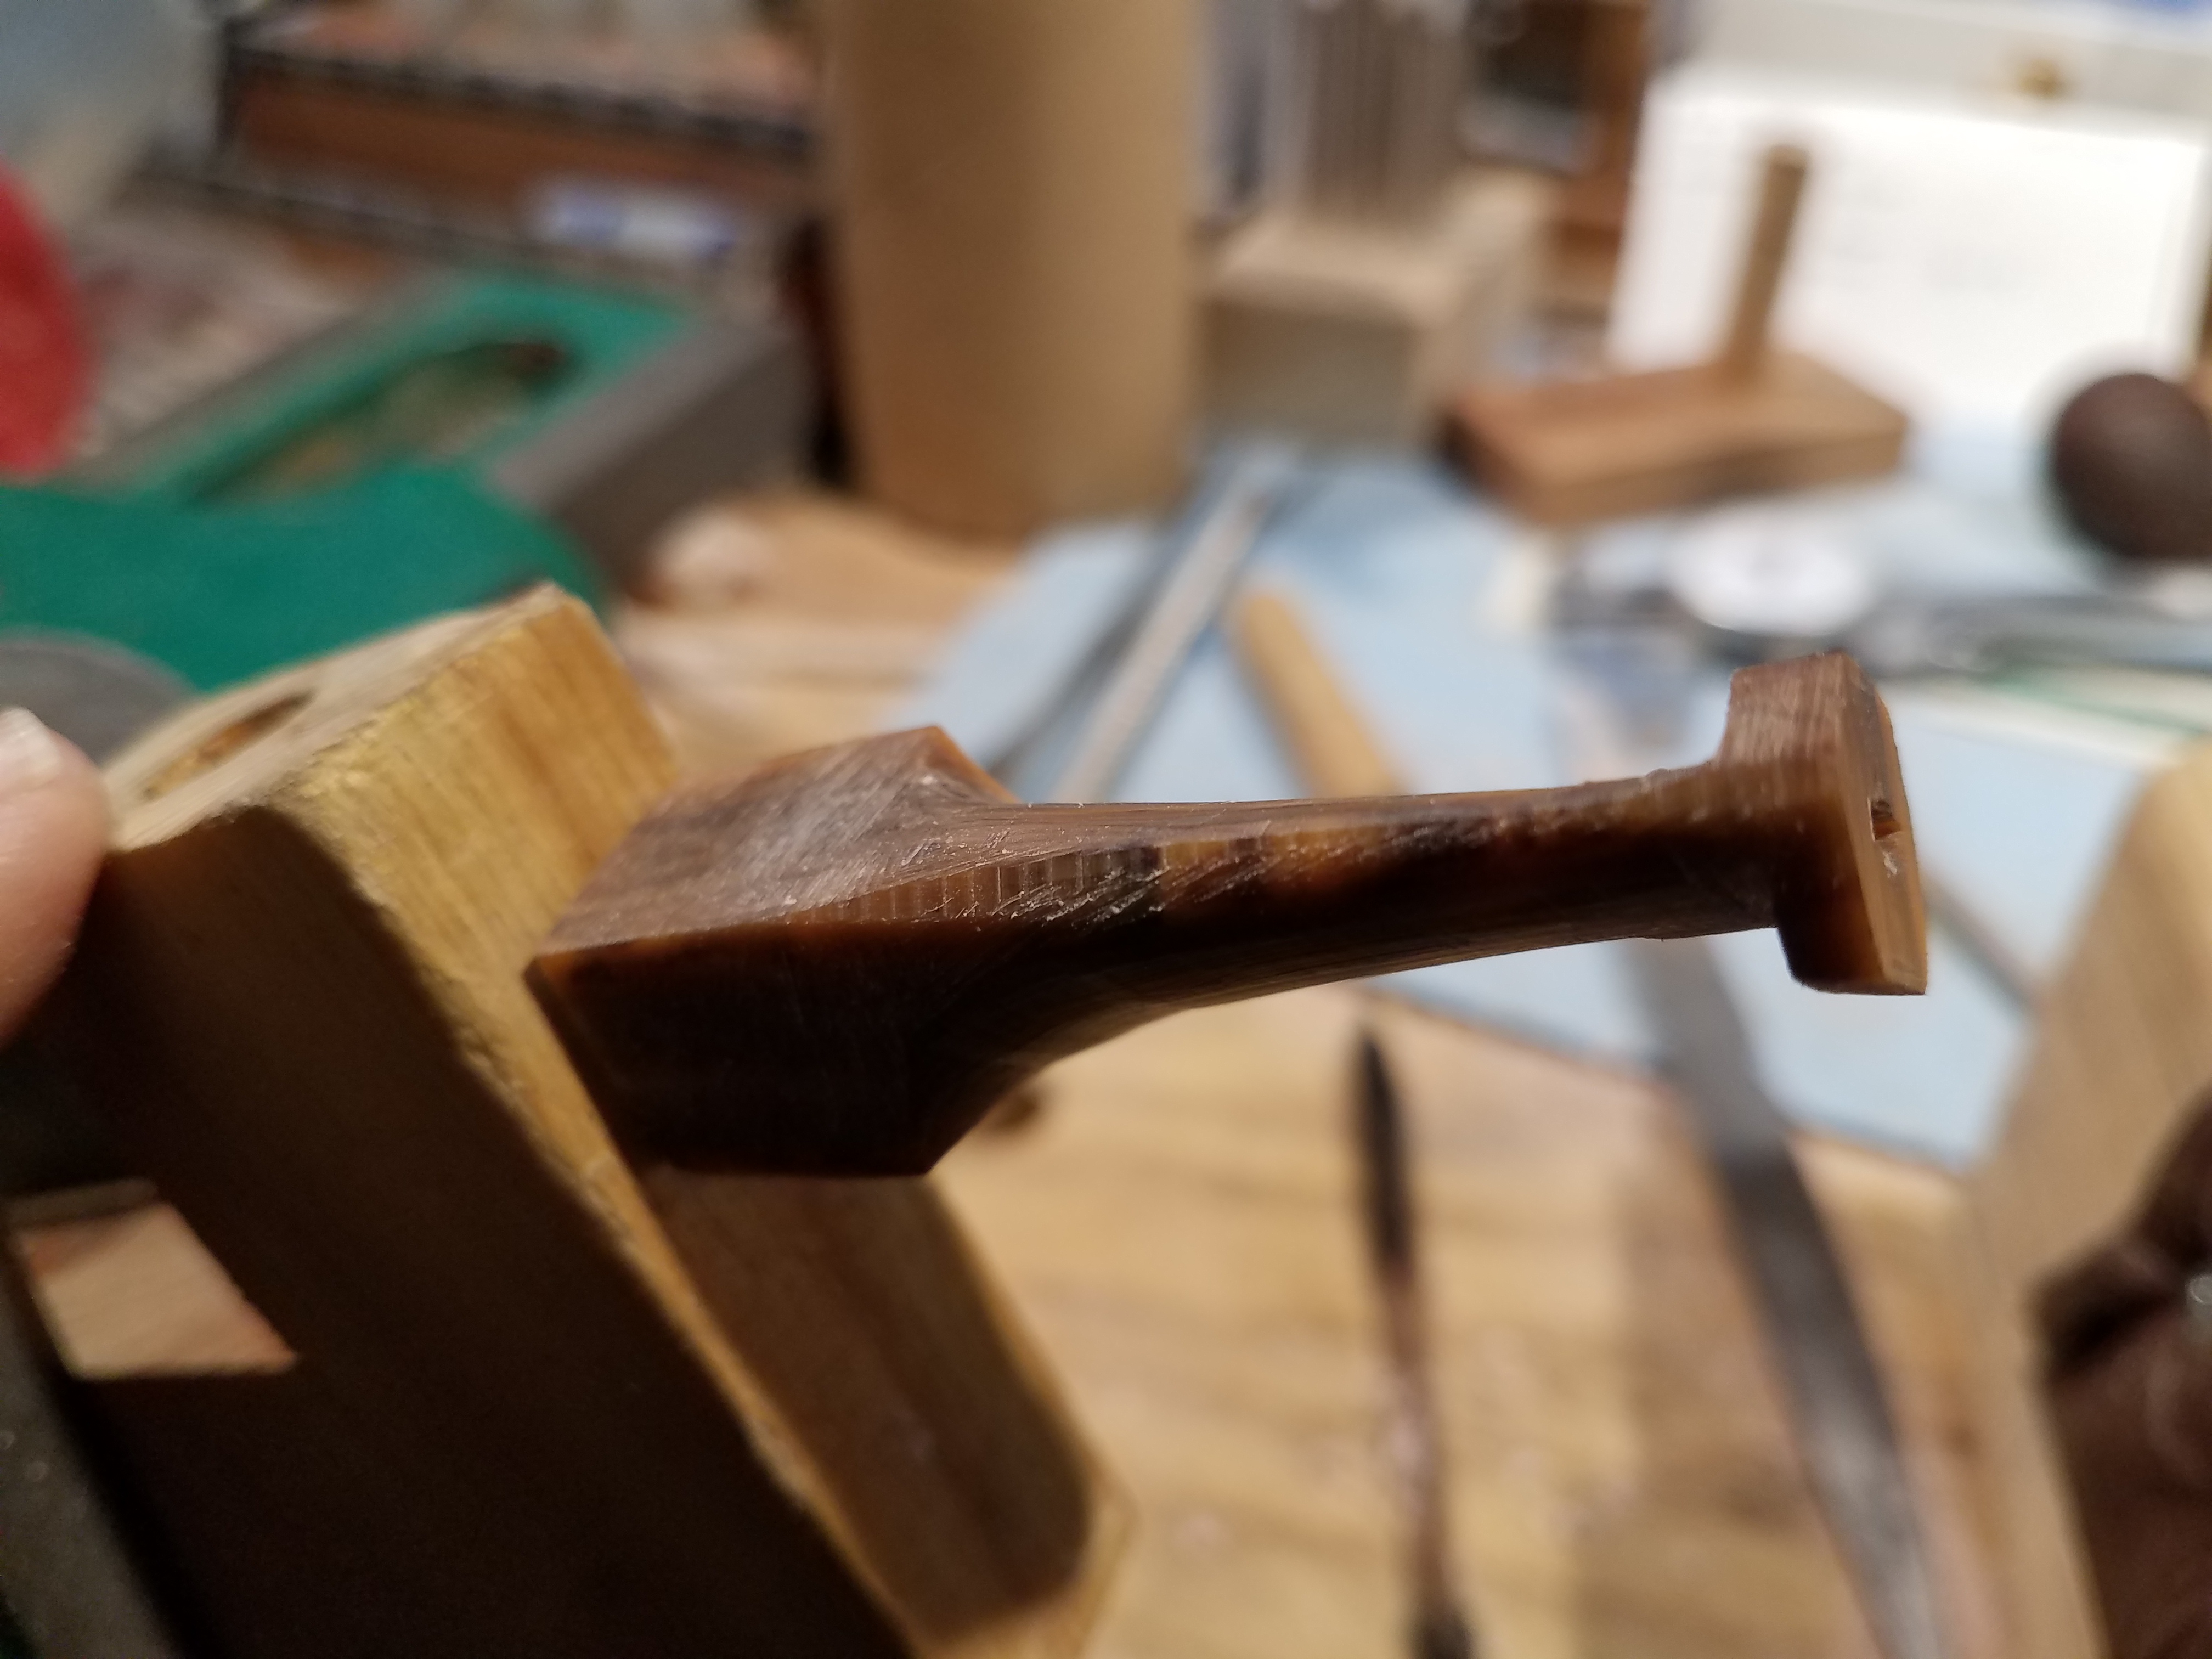
At the stage below, the rough shaping is complete, and if this was a “normal” stem we would move to sanding to final grits and buffing. But this is not a “normal” stem.
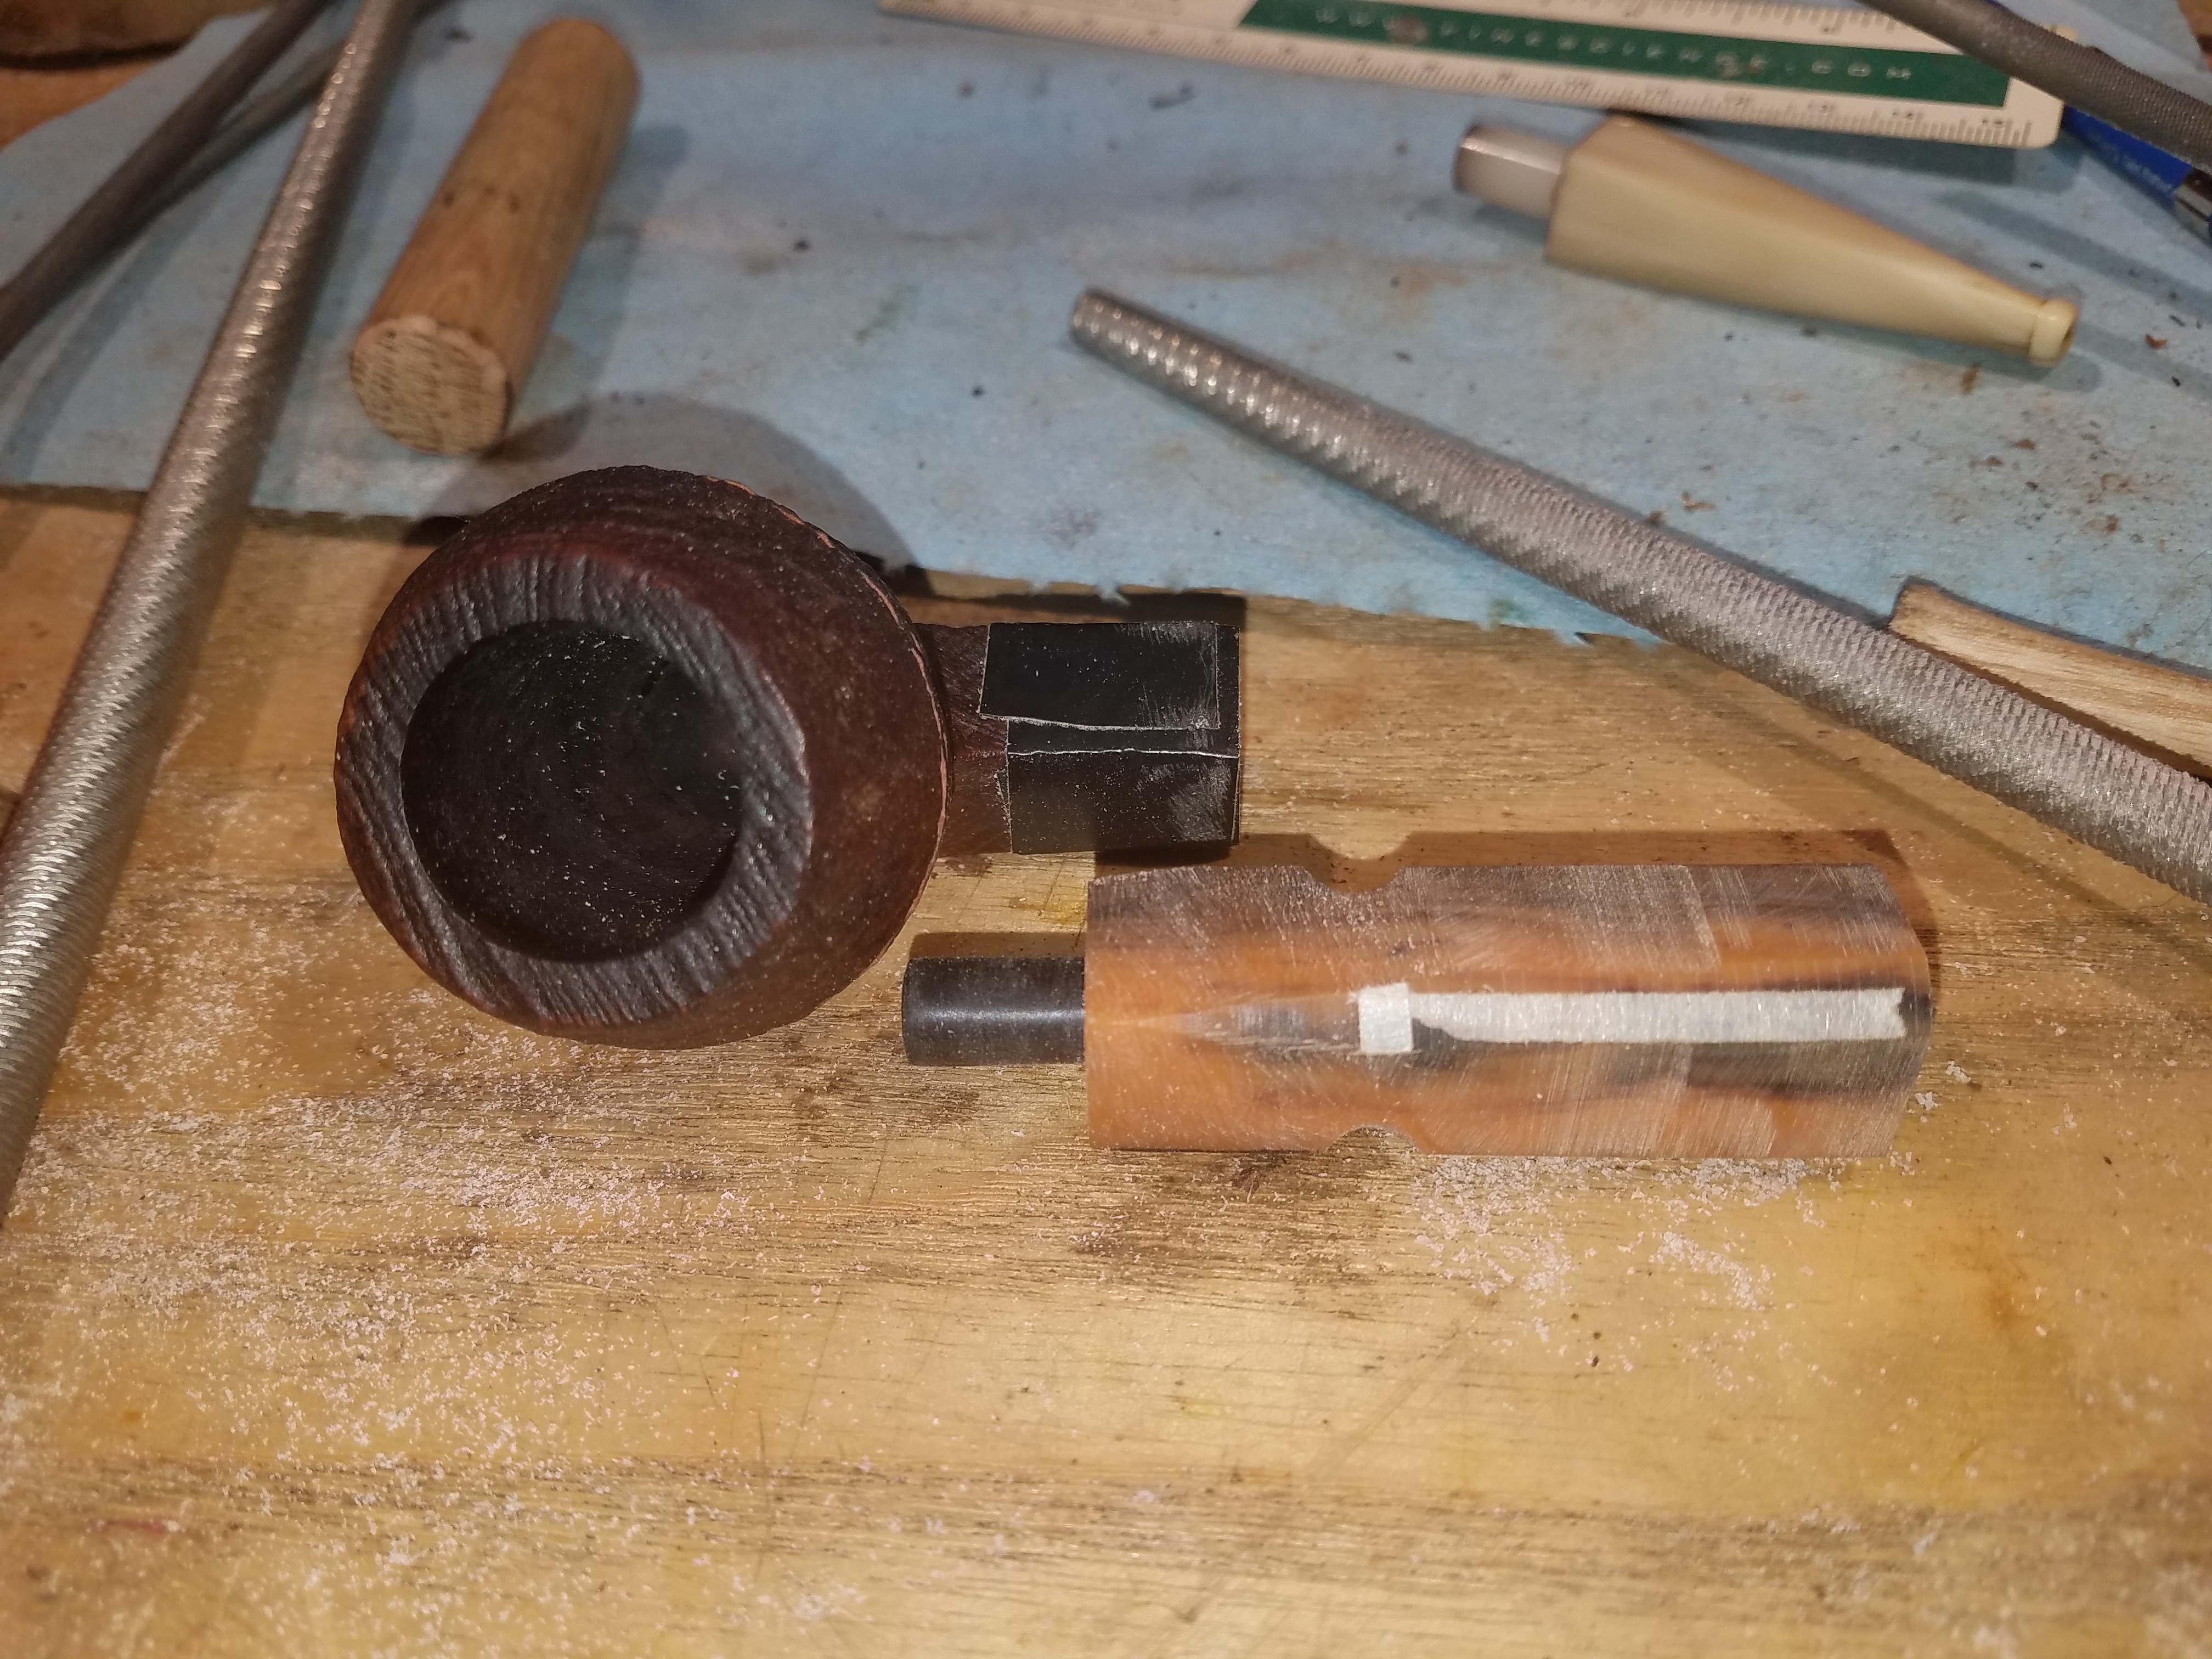
The first problem was mentioned above. Because of the protective layer of tape we could only approximate the dimensions. The stem is still over-sized at the stem-shank junction and will need to be carefully filed to final dimensions. This is done by filing the stem off the pipe, and repeatedly test fitting until the correct shape is eventually obtained.
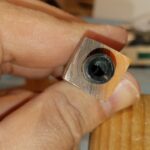
The other problem we have is that the mortise is drilled off center. This means that the diamond of the stem will be asymmetrical and each face has to be fit independent of the others.
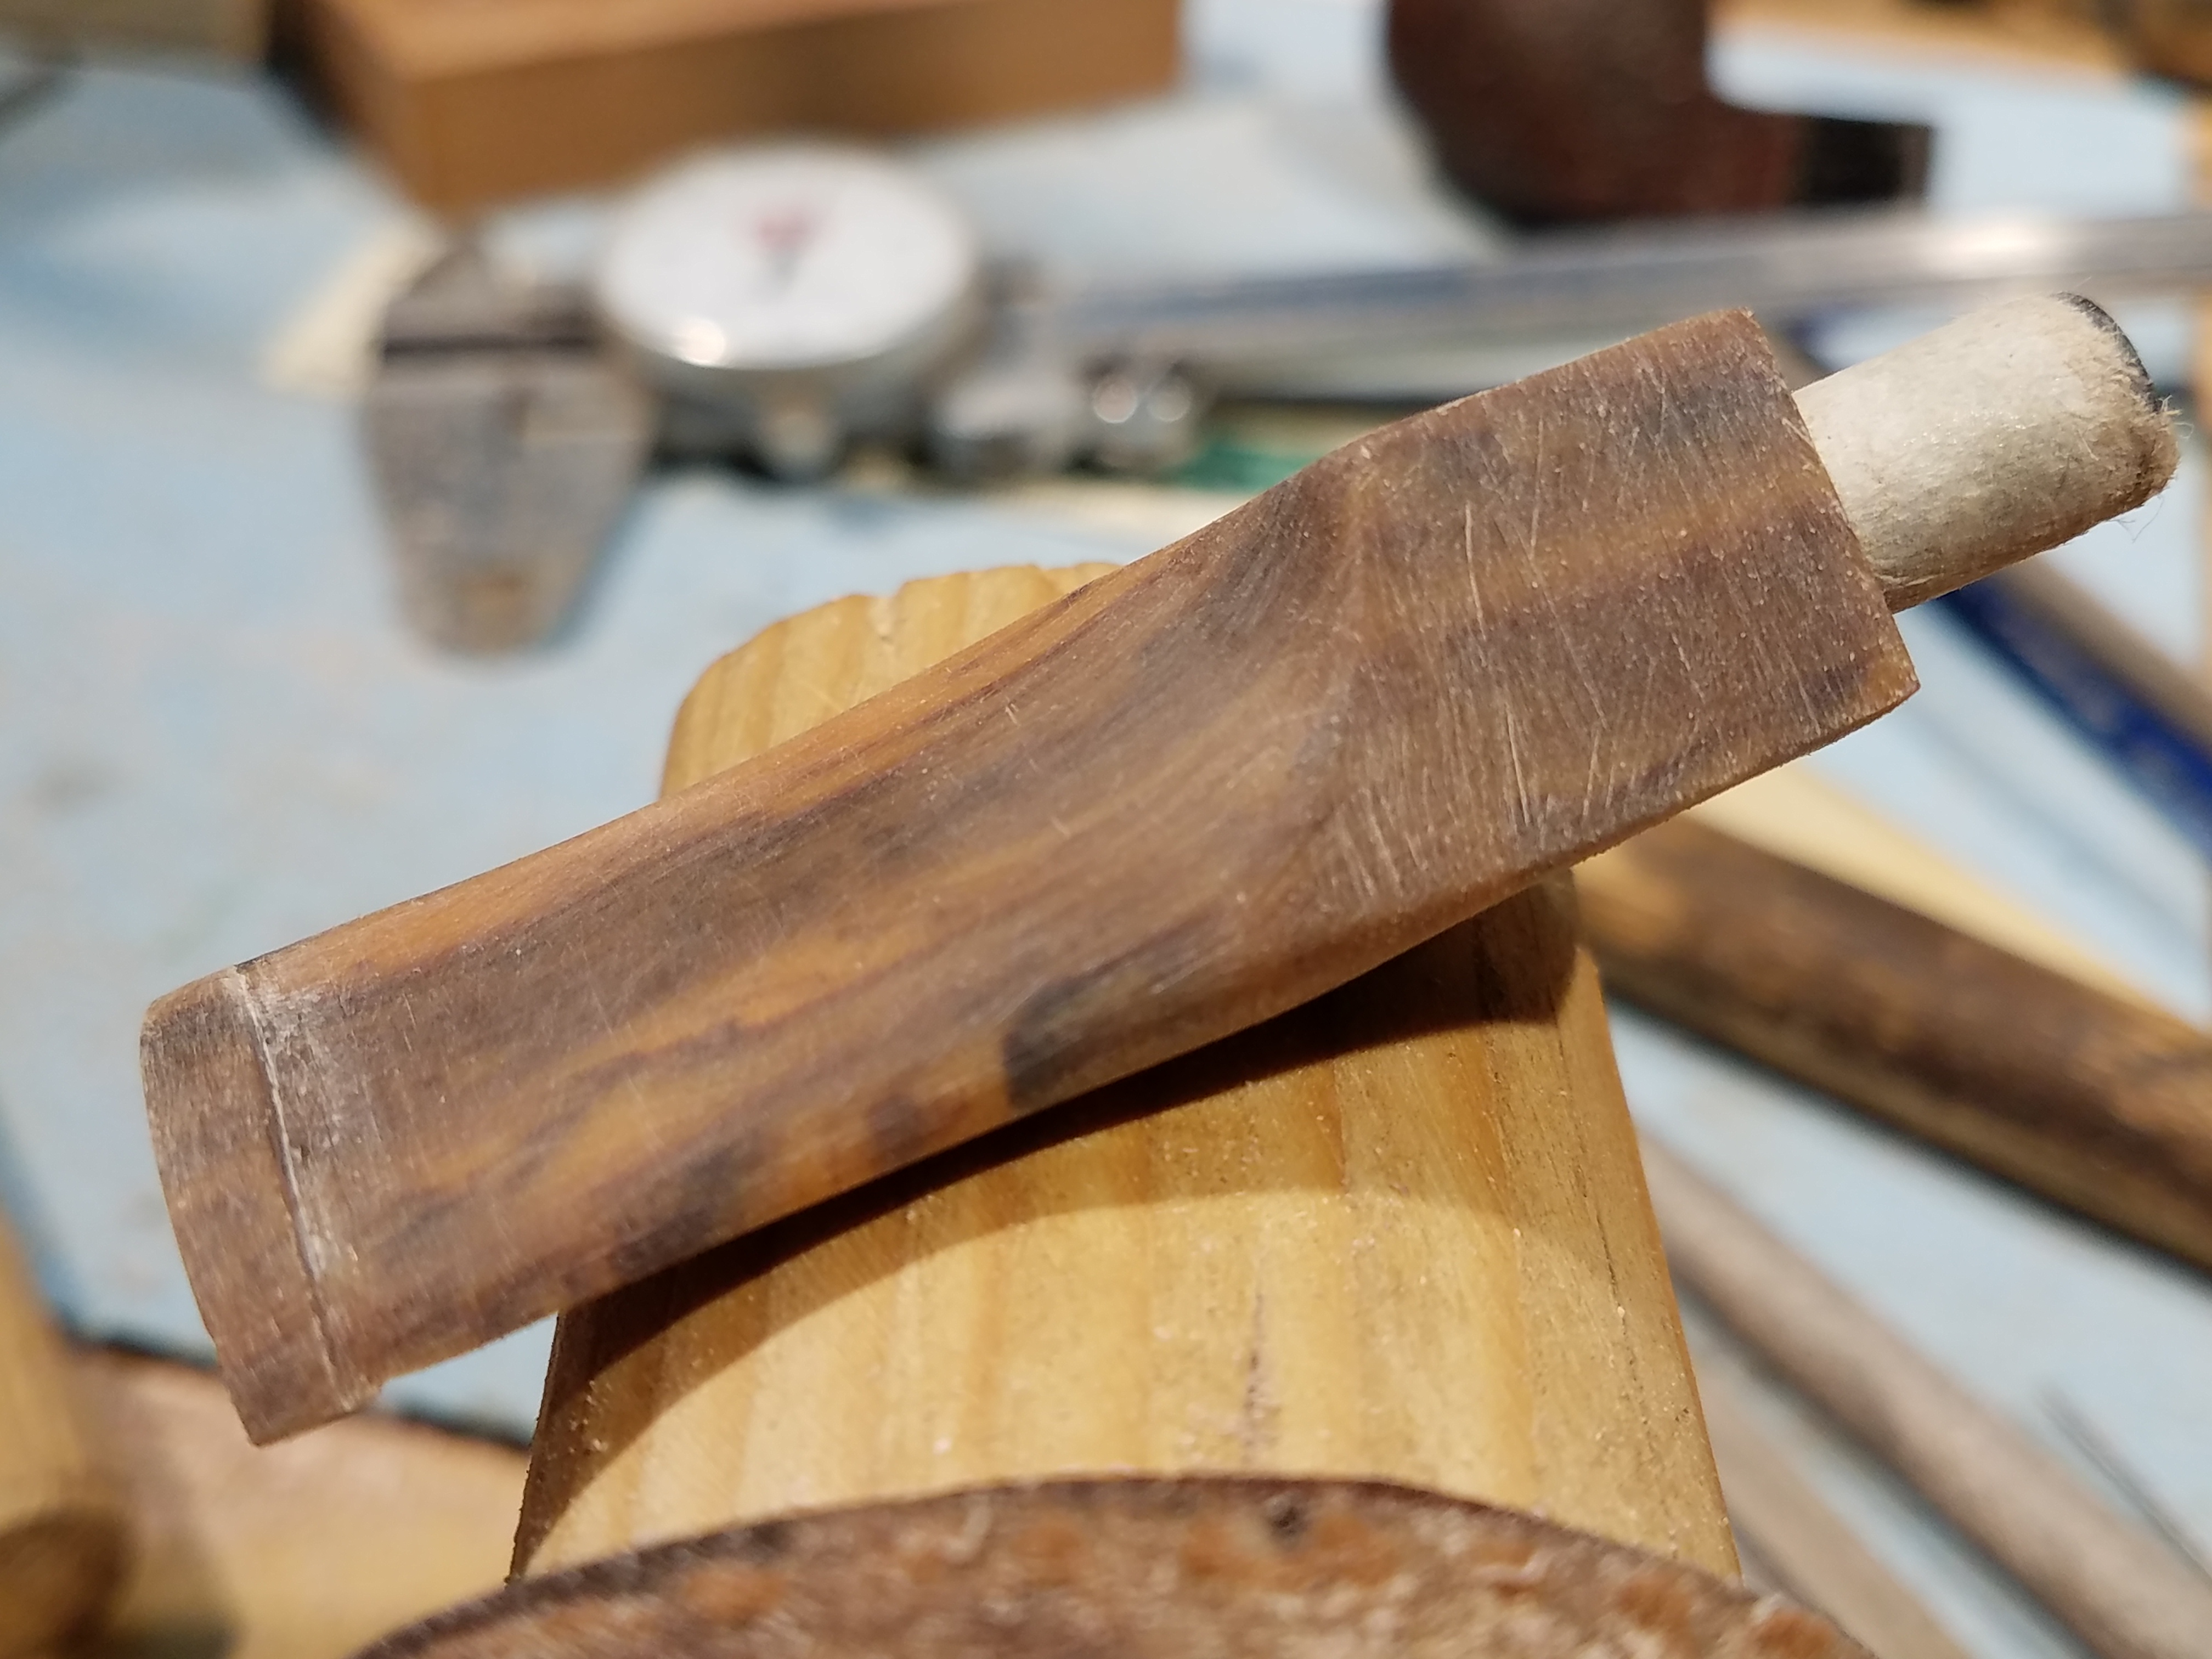
Finally, after several hours of filing, we are ready to progress through the sanding grits. I sand acrylic at 220, 320, 400, and 600 grit, and then move on to buffing. The picture below shows the stem ready for the buffing wheels
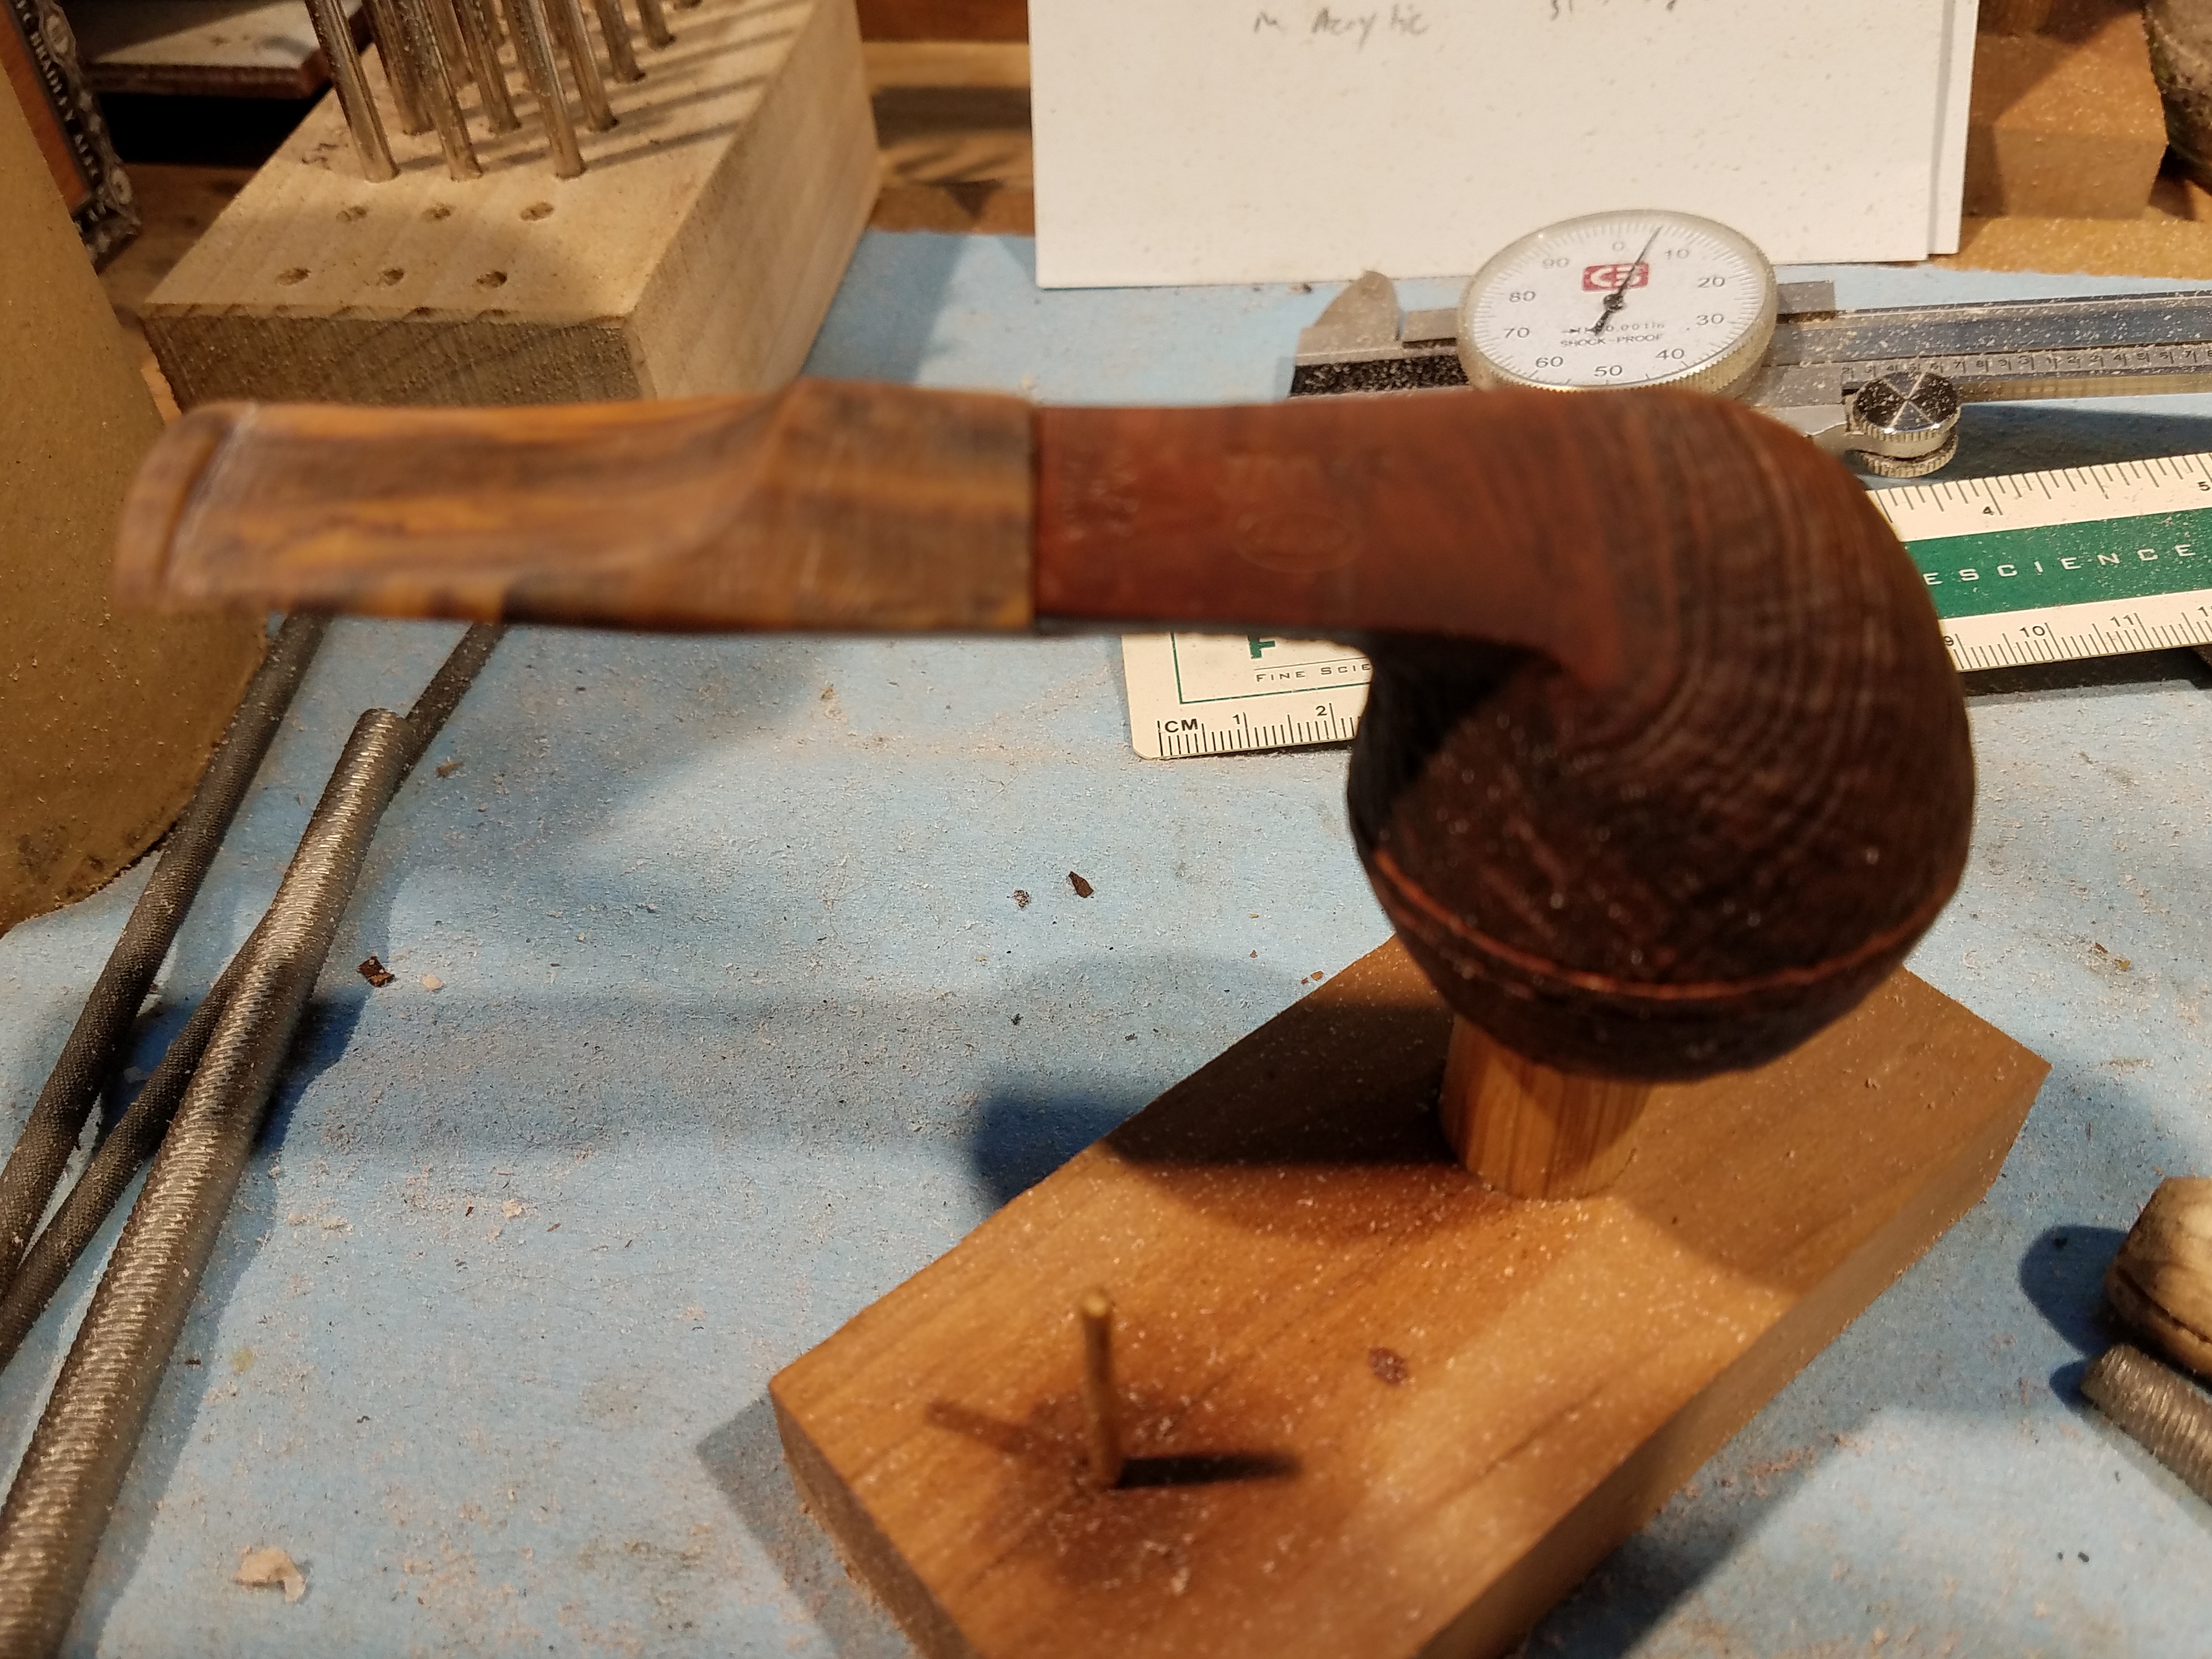
The finished pipe is shown below. The fit is not perfect, but it is as close as I have been able to obtain. I hope to someday come up with a better method, but in the meantime the stem is an improvement over the original horn stem and will hopefully give the owner some smoking pleasure.

Thanks for sharing tour method. I have not yet braved crafting a new stem from rod stock. Despite the hours of work put in, you make it look manageable!